¶ Using Zubax GNSS with PX4 autopilots
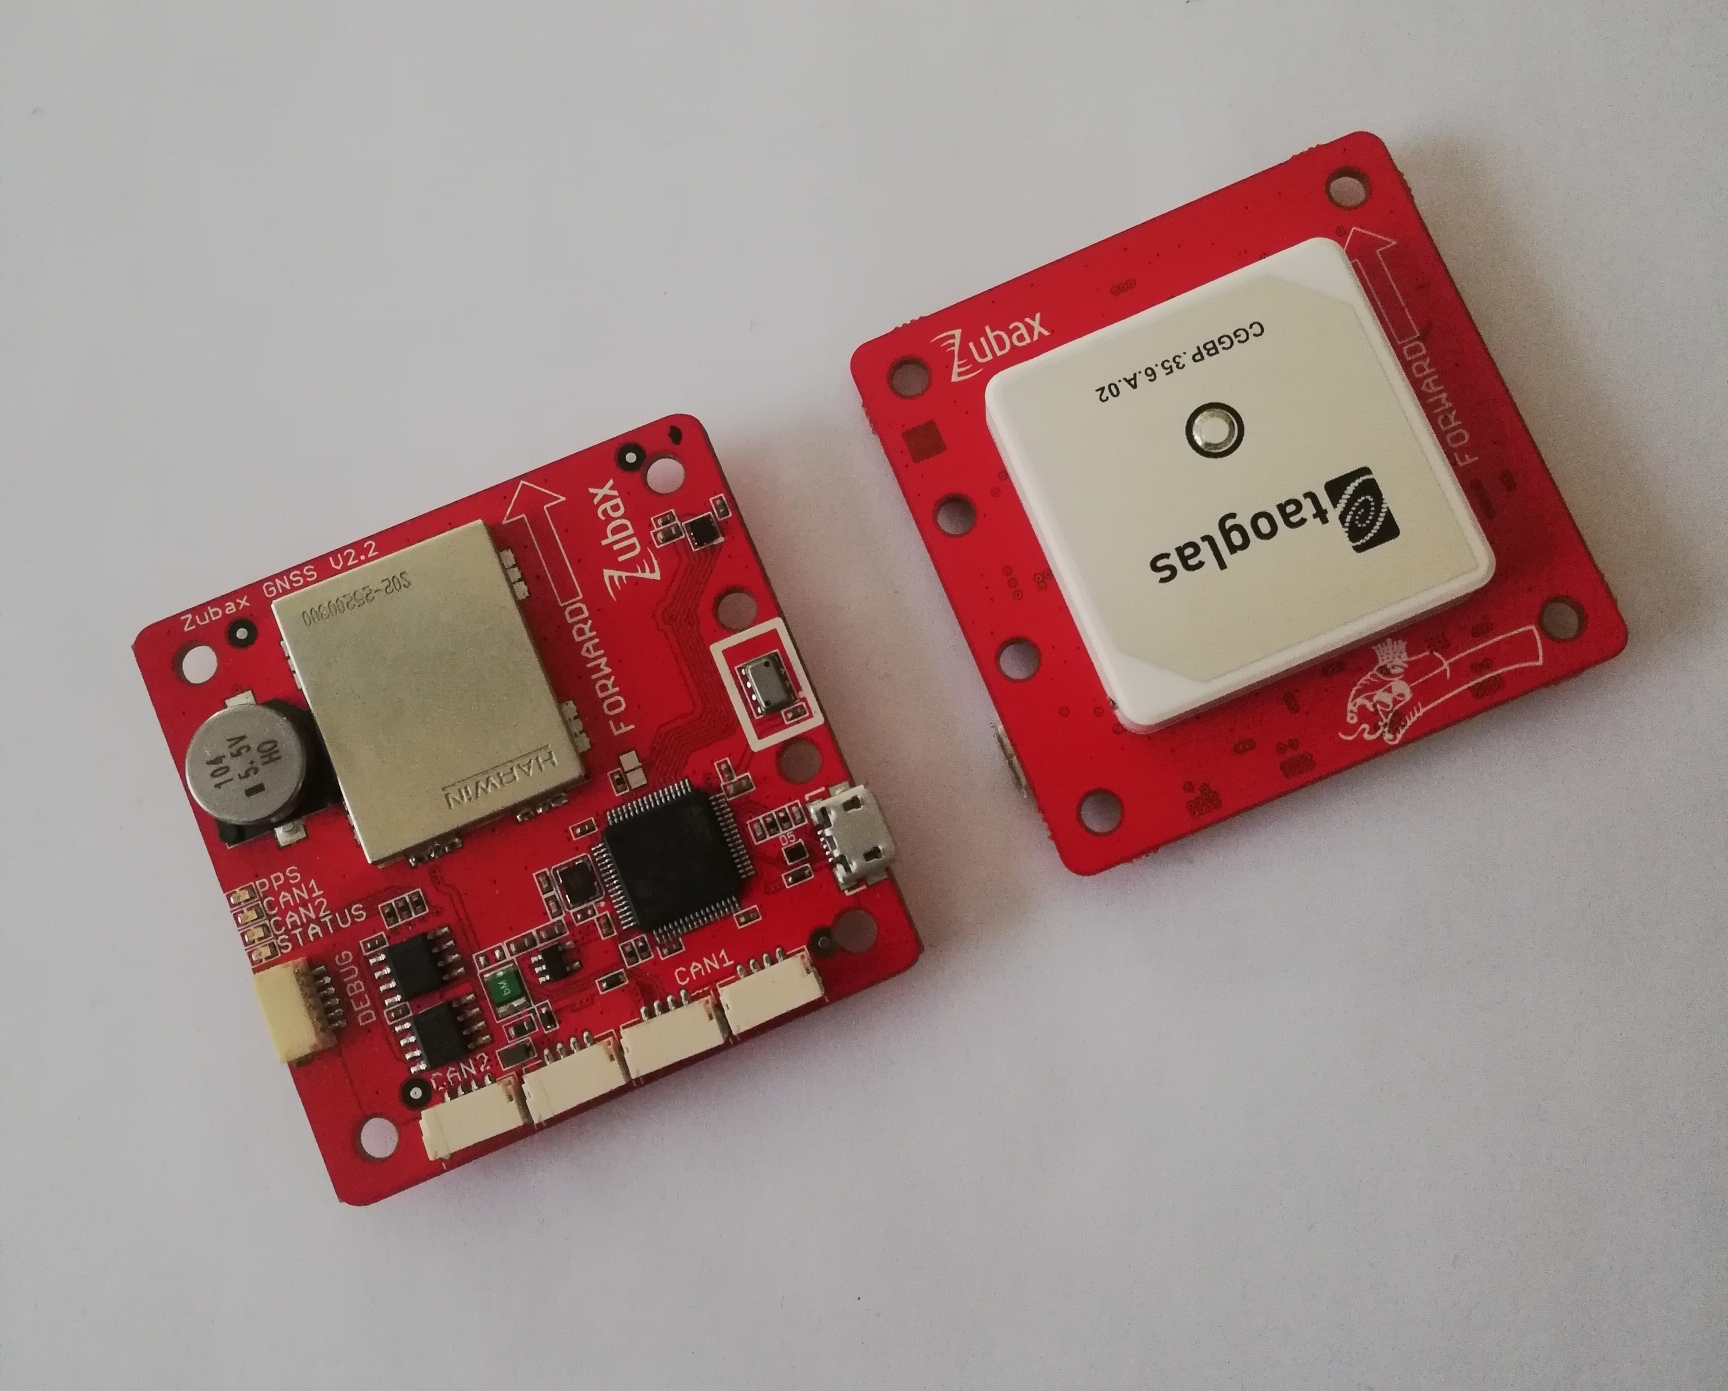
This tutorial demonstrates how to use Zubax GNSS 2 with PX4-based flight controllers. The version of PX4 firmware involved in this tutorial is v1.10.1. The documentation for PX4 is available at px4.io.
¶ Software Installation
QGroundControl provides full flight control and vehicle setup for PX4 or ArduPilot powered vehicles. It provides easy and straightforward usage for beginners, while still delivering high end feature support for experienced users.
To download and install software please refer to the relevant documentation for details.
¶ Required parts
Aside from Zubax GNSS 2 itself and the autopilot it will be connected to, the following parts will be needed:
- UAVCAN Micro patch cable (or an adapter cable, depending on the type of CAN connectors used in the autopilot hardware).
- UAVCAN Micro termination plug.
Please contact your supplier for ordering information. Alternatively, customers can choose to manufacture the needed cables/plugs on their own in order to suit some custom needs, in which case they should refer to the relevant documentation for details.
¶ Connecting
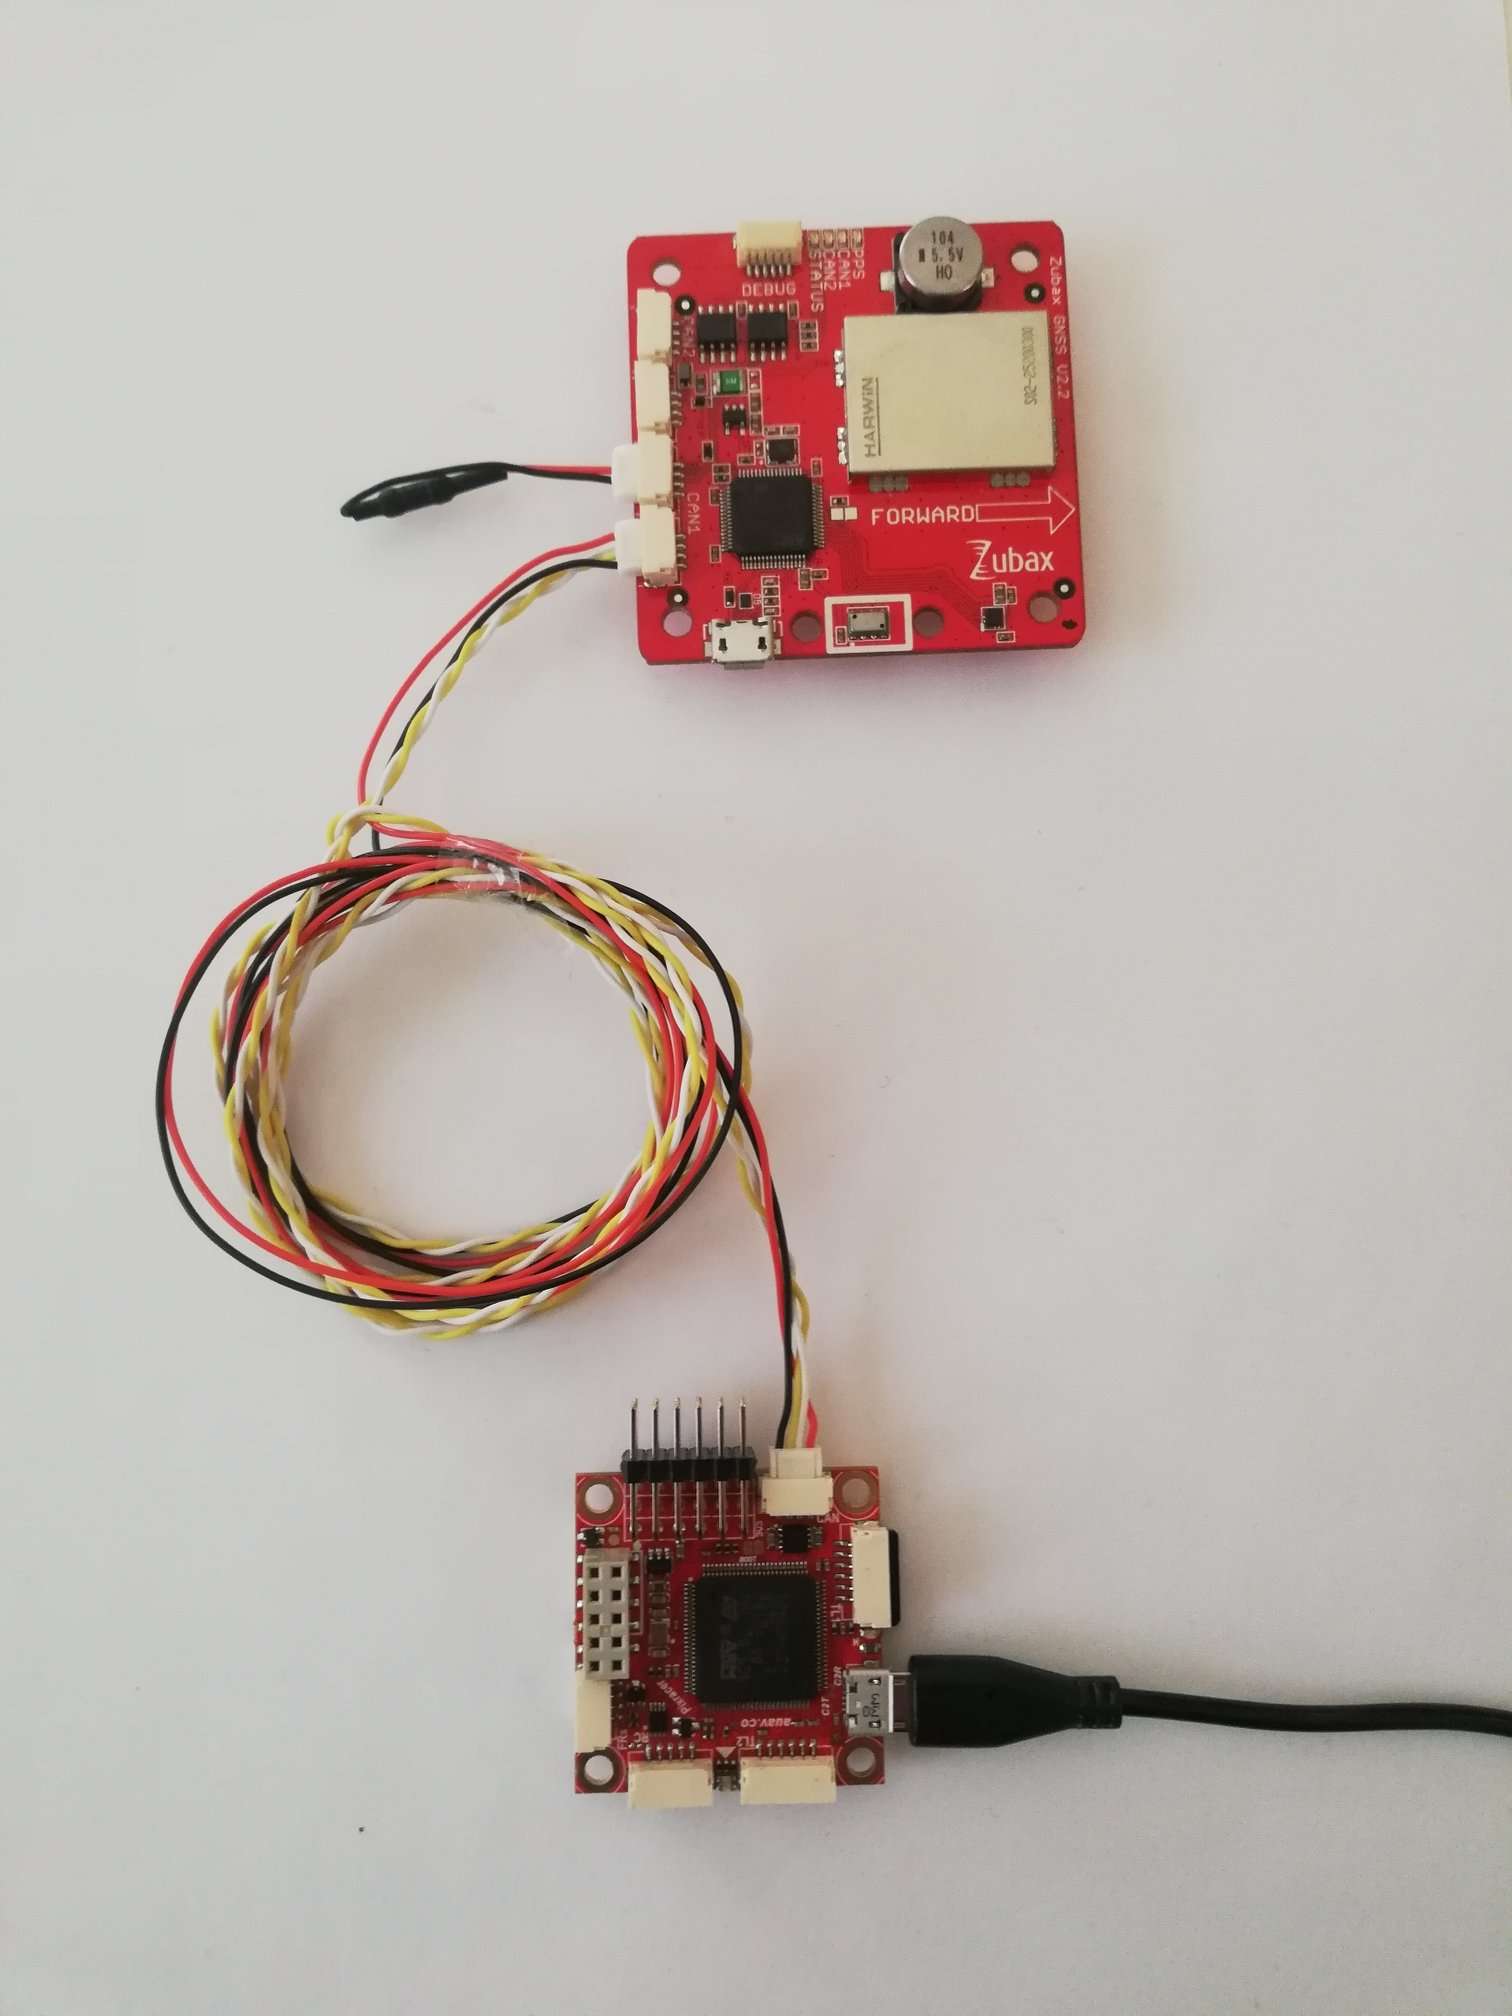
Since Zubax GNSS 2 can be powered directly from the bus, the electrical connections are quite simple:
- Connect Zubax GNSS 2 with Pixhawk using the appropriate cable. In case you’re using a non-redundant CAN interface (which is the only available option for Pixhawk v1), only CAN1 must be used, leaving CAN2 empty.
- Terminate the CAN bus using the termination plug.
¶ Configuring the PX4 flight controller
¶ GPS
Open QGroundControl application.
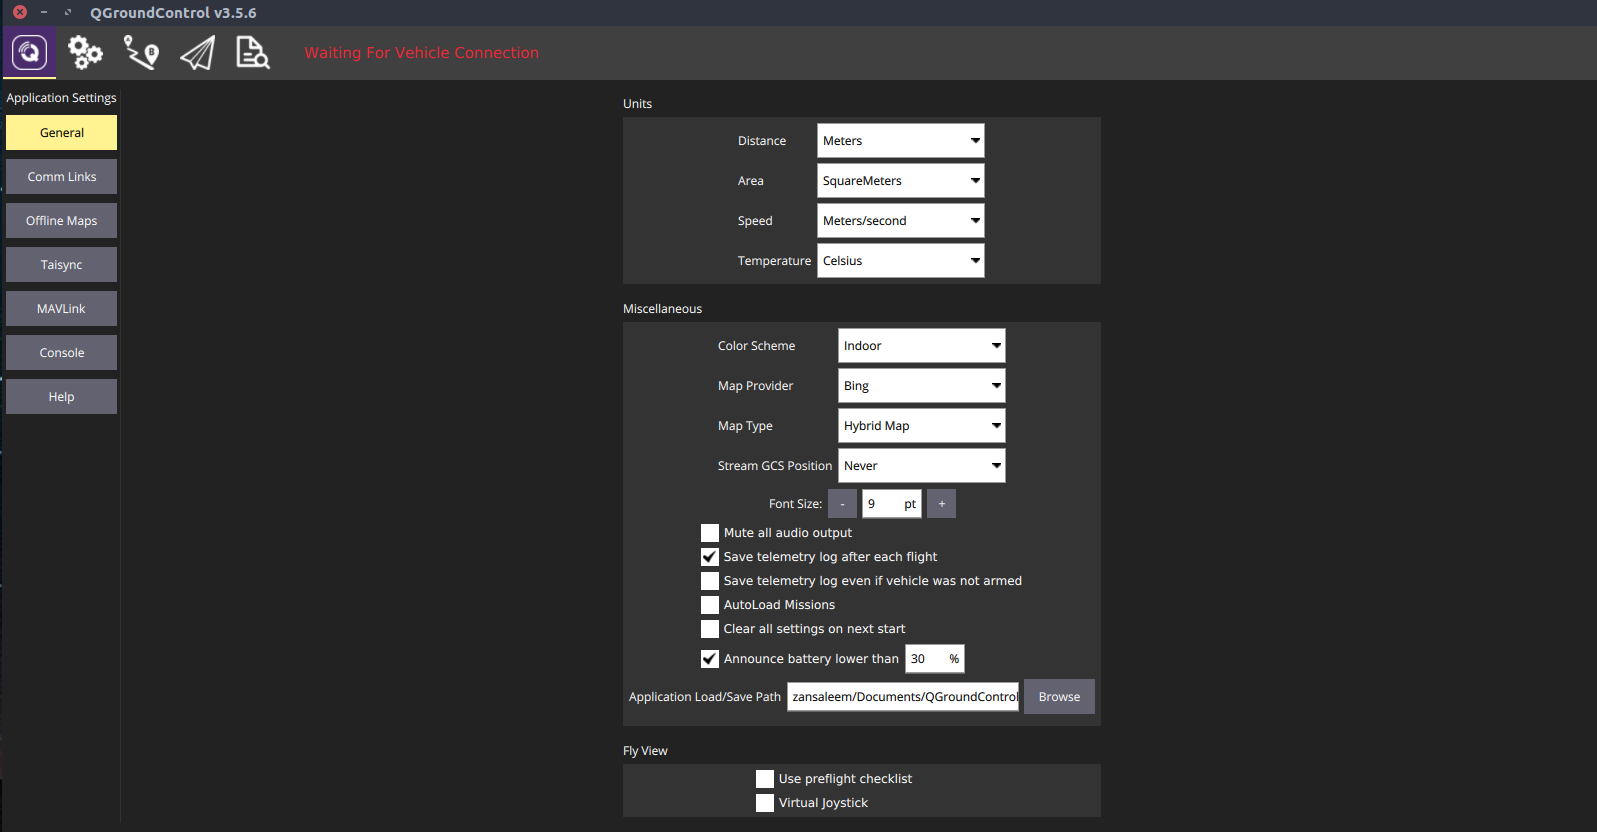
Connect Pixhawk with a computer using the micro USB cable. (Device will appear in QGroundControl application).
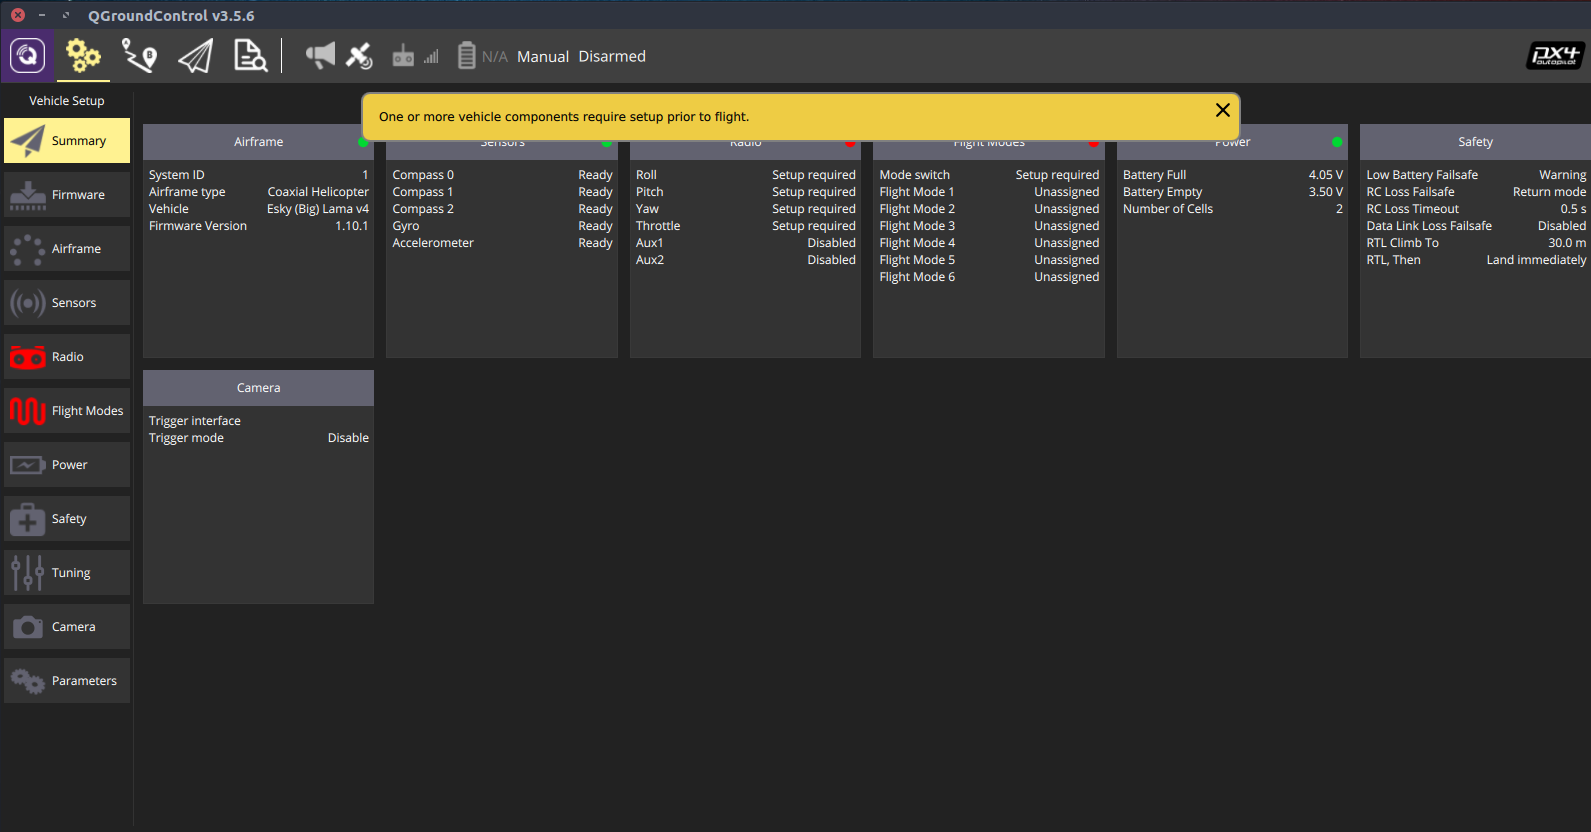
Set the configuration parameter UAVCAN_ENABLE to Only Sensors(2) or Sensors and Motors(3) (or any higher value, if such available)
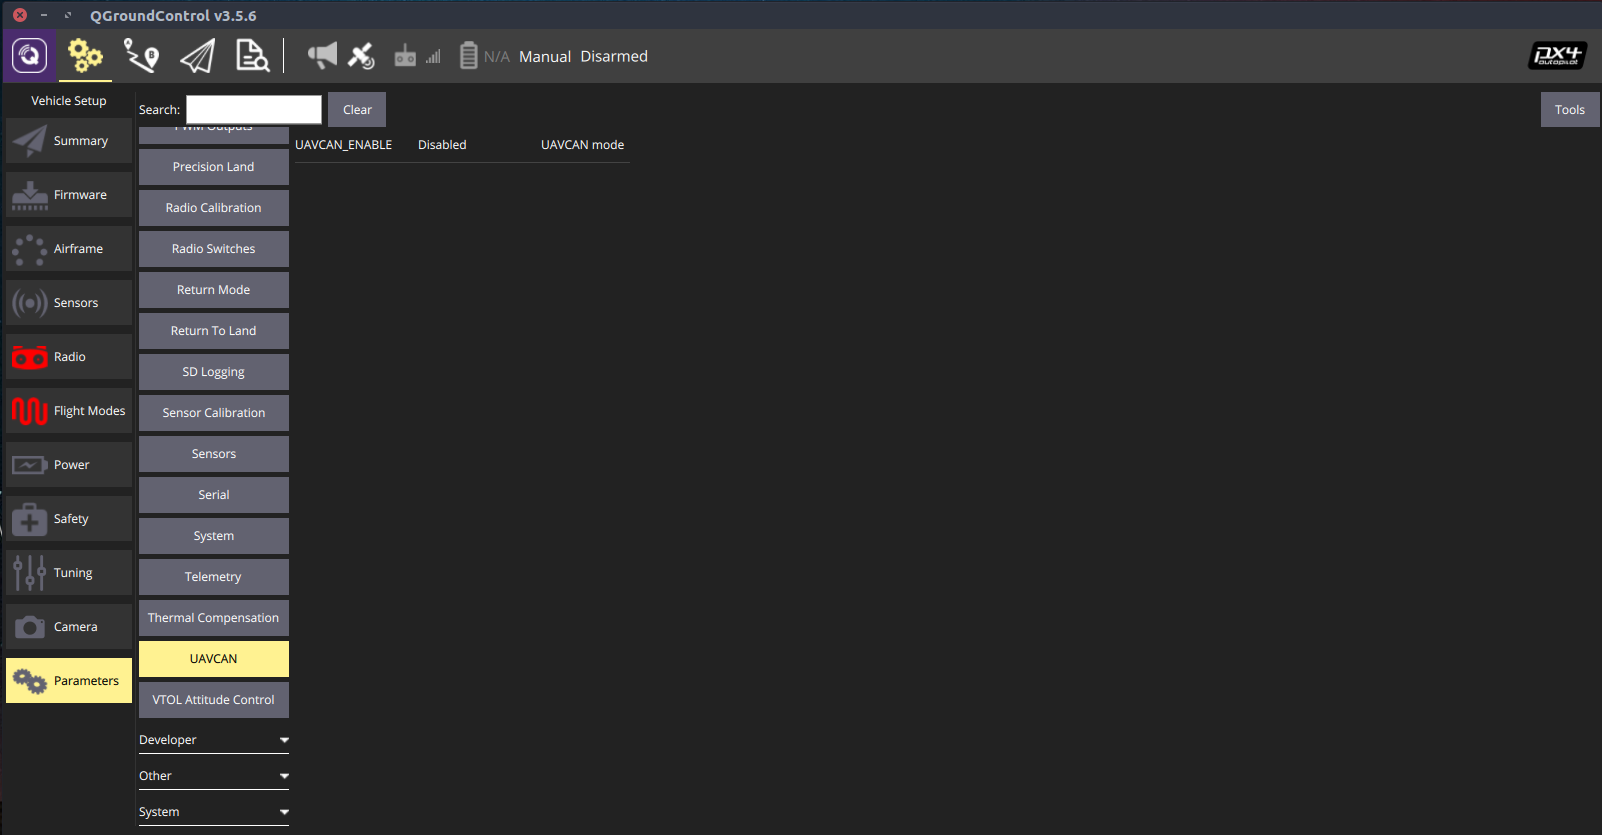
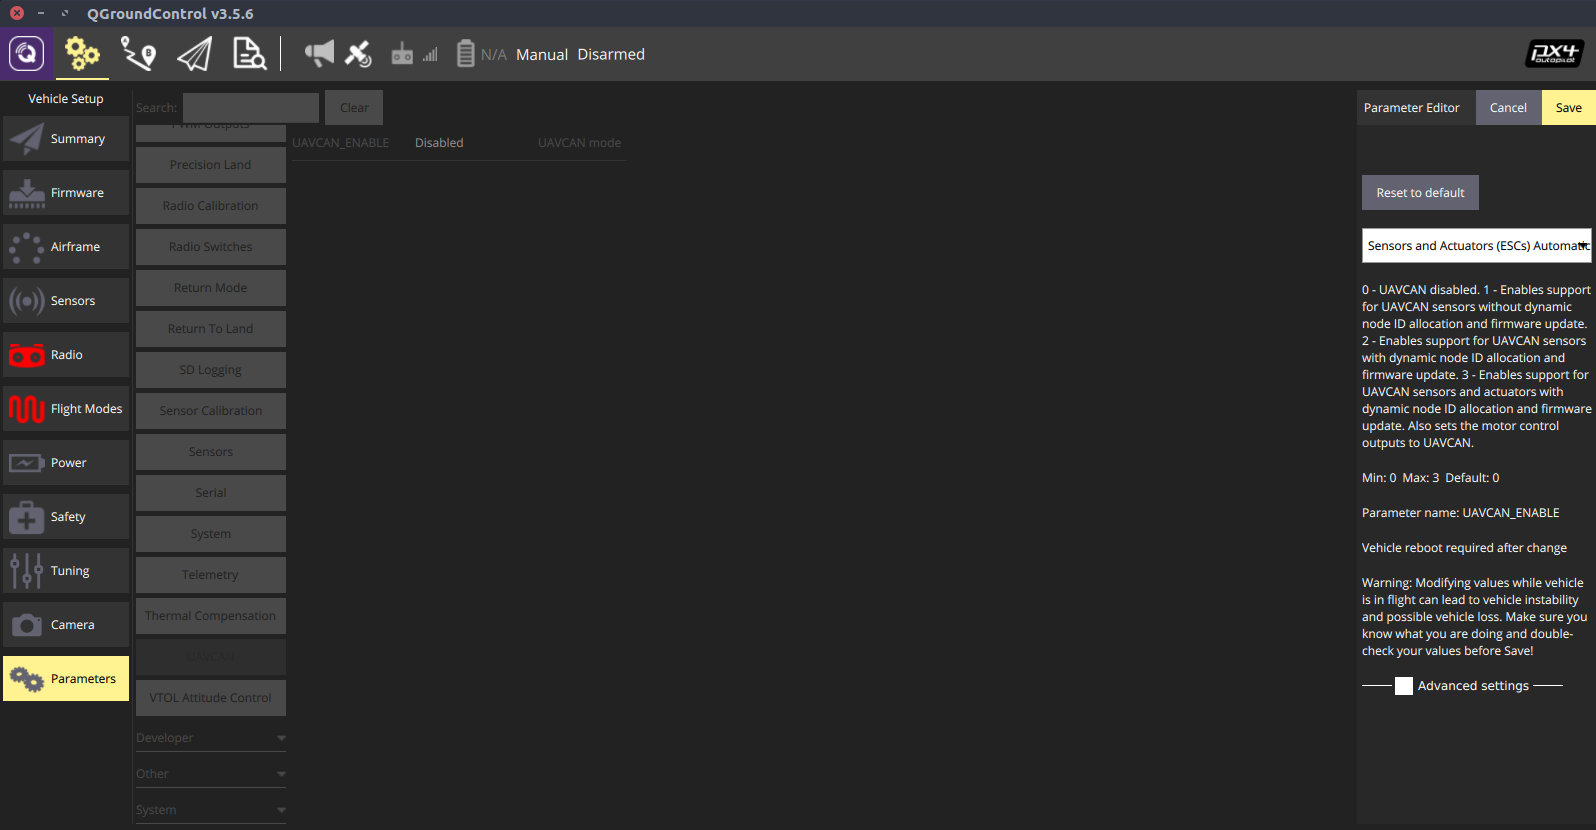
Save setting.
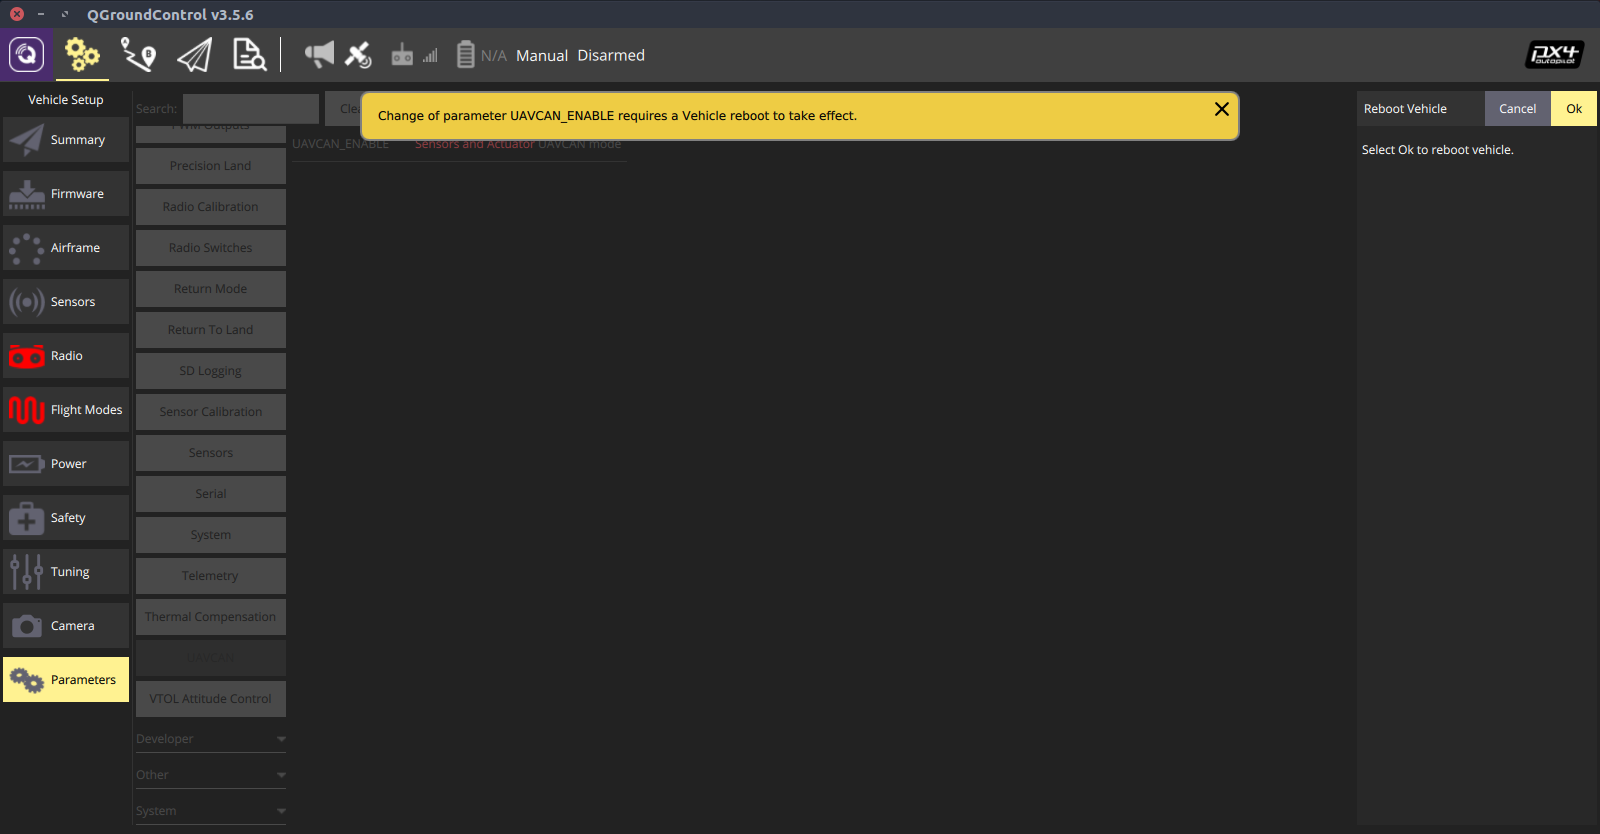
Reboot Device.
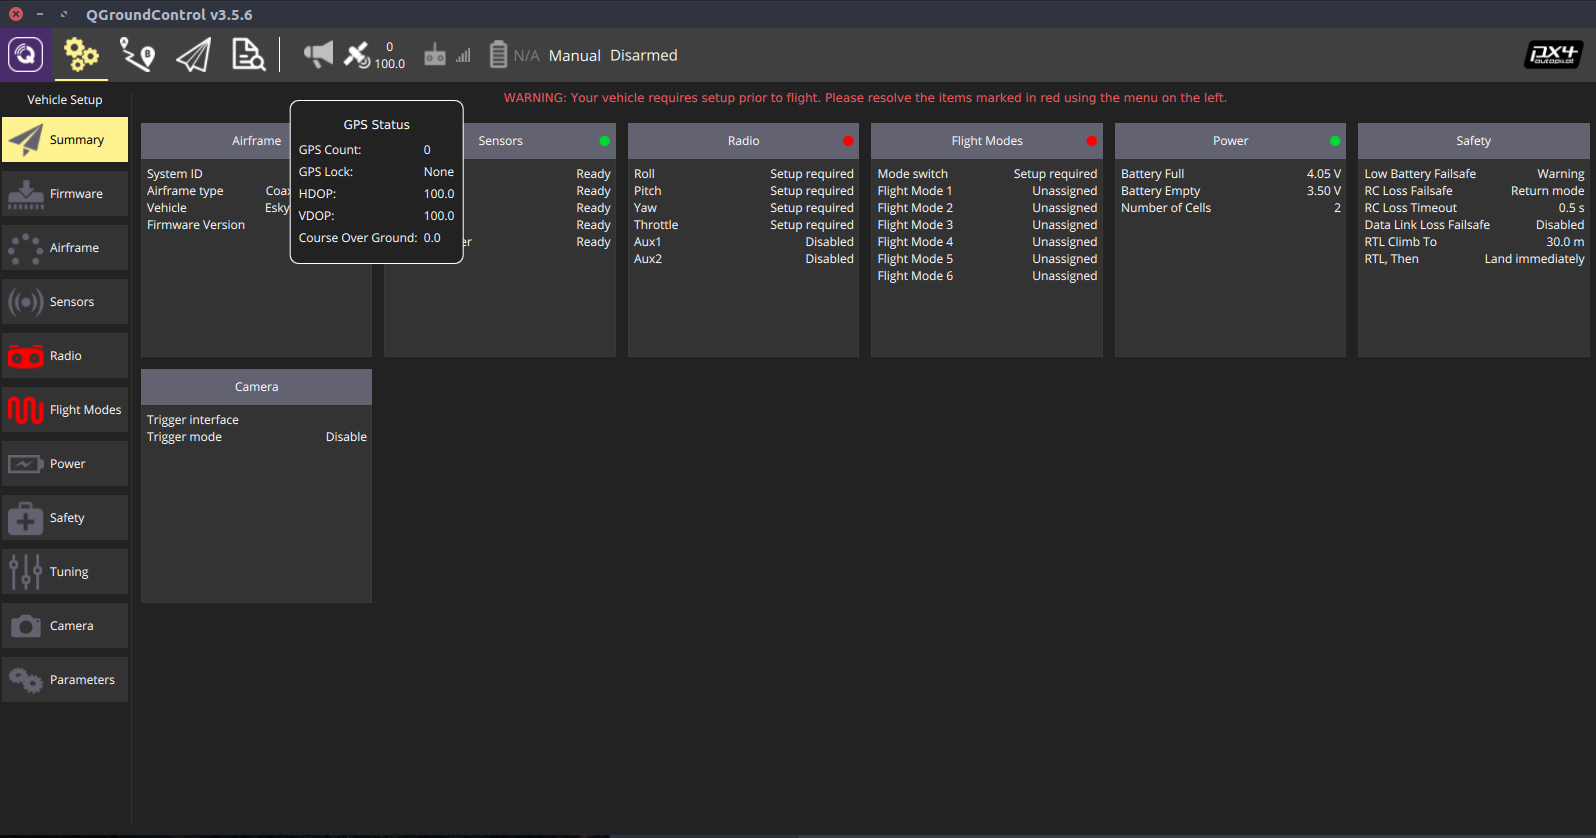
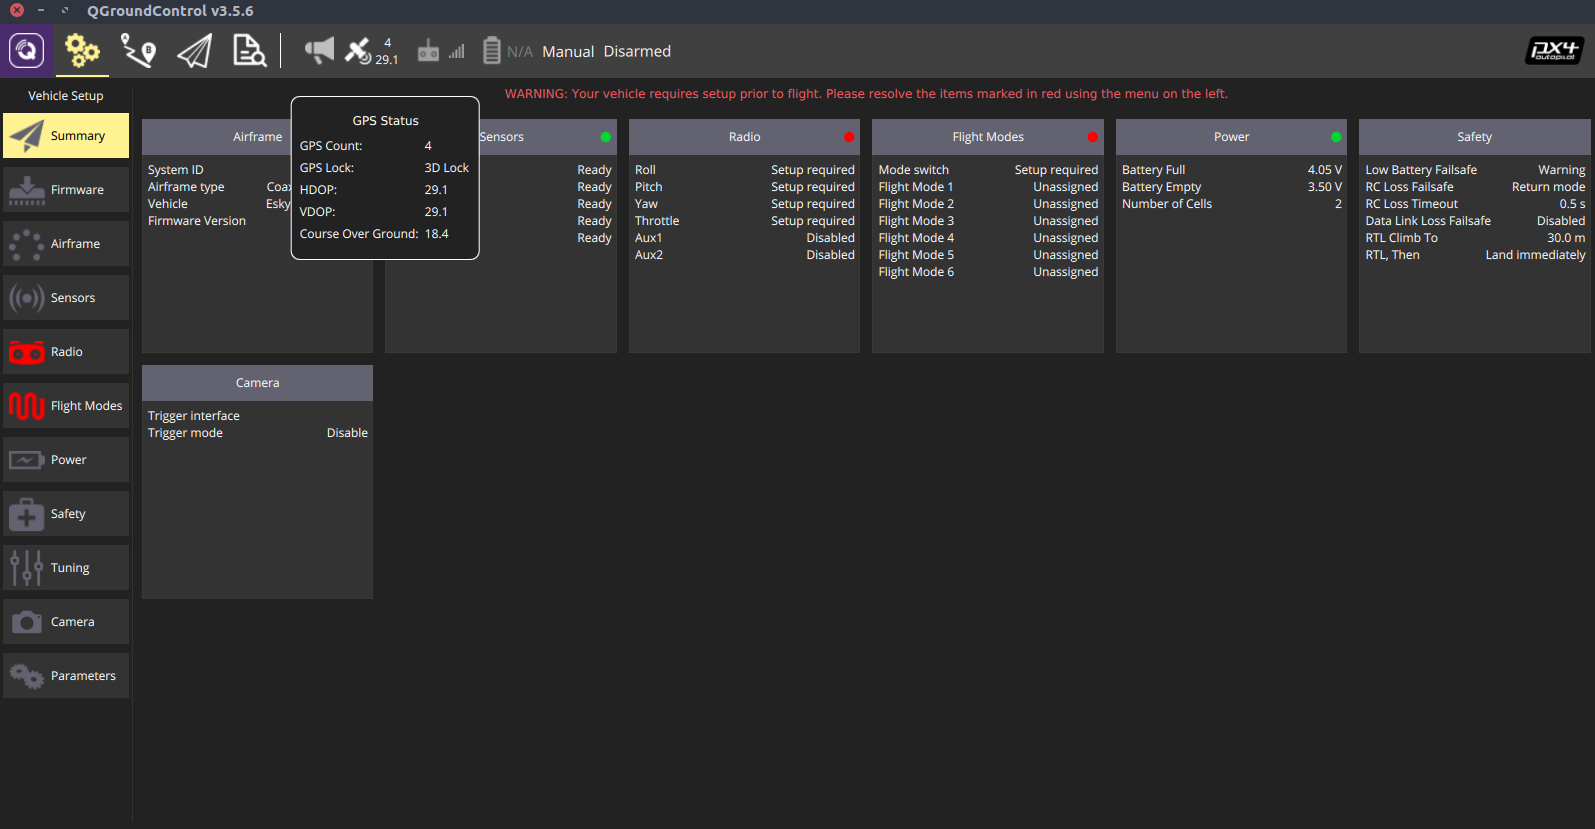
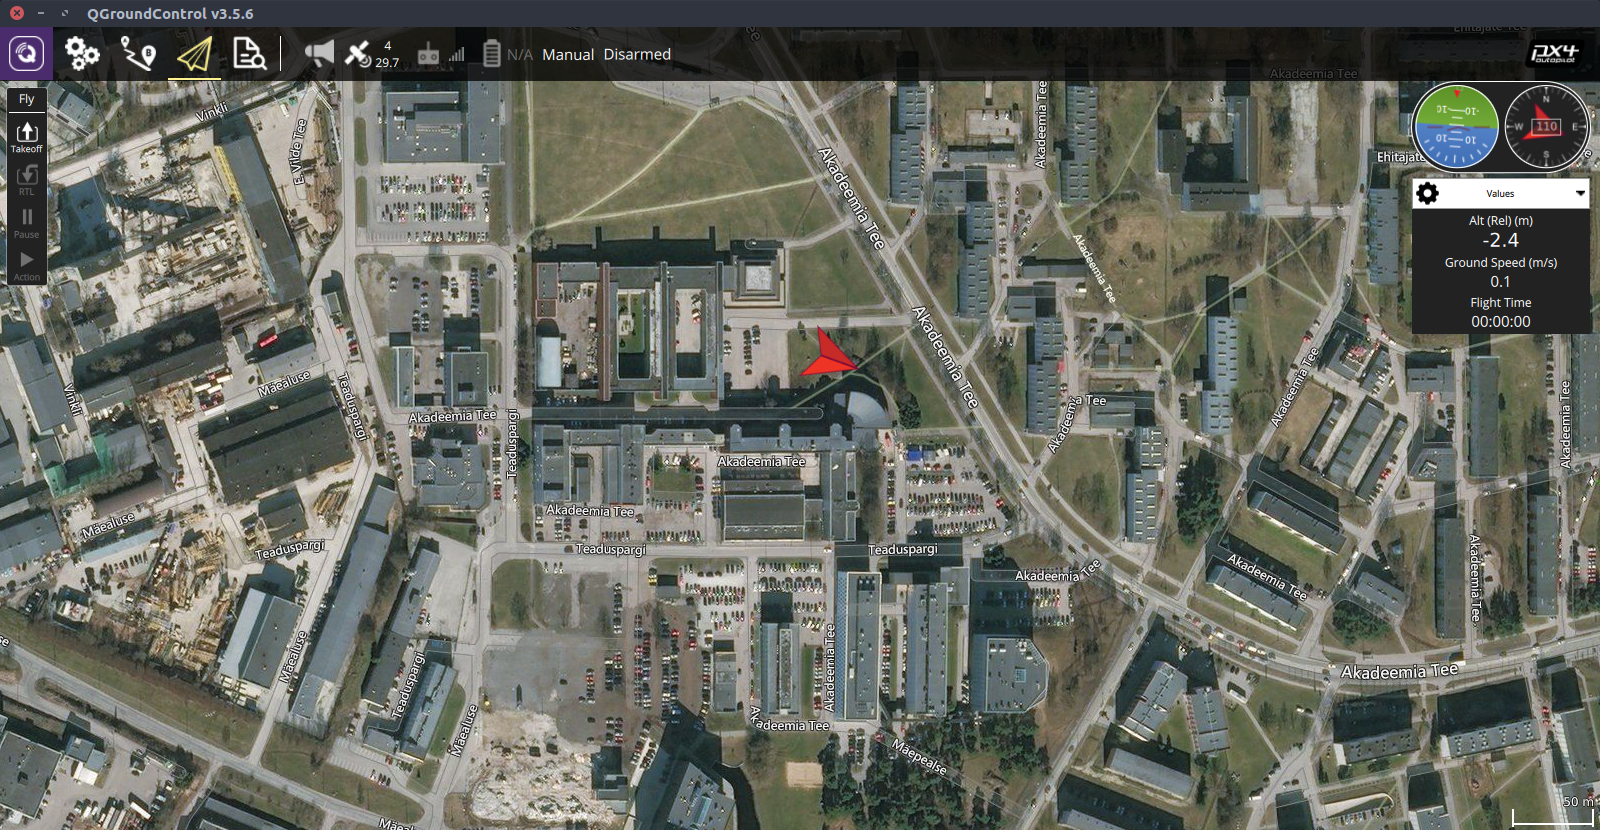
GPS will may take several seconds to get locked. You can check the status by clicking on button GPS Status.
¶ Compass
Note
By default external compass will always be the primary compass.
¶ Calibration
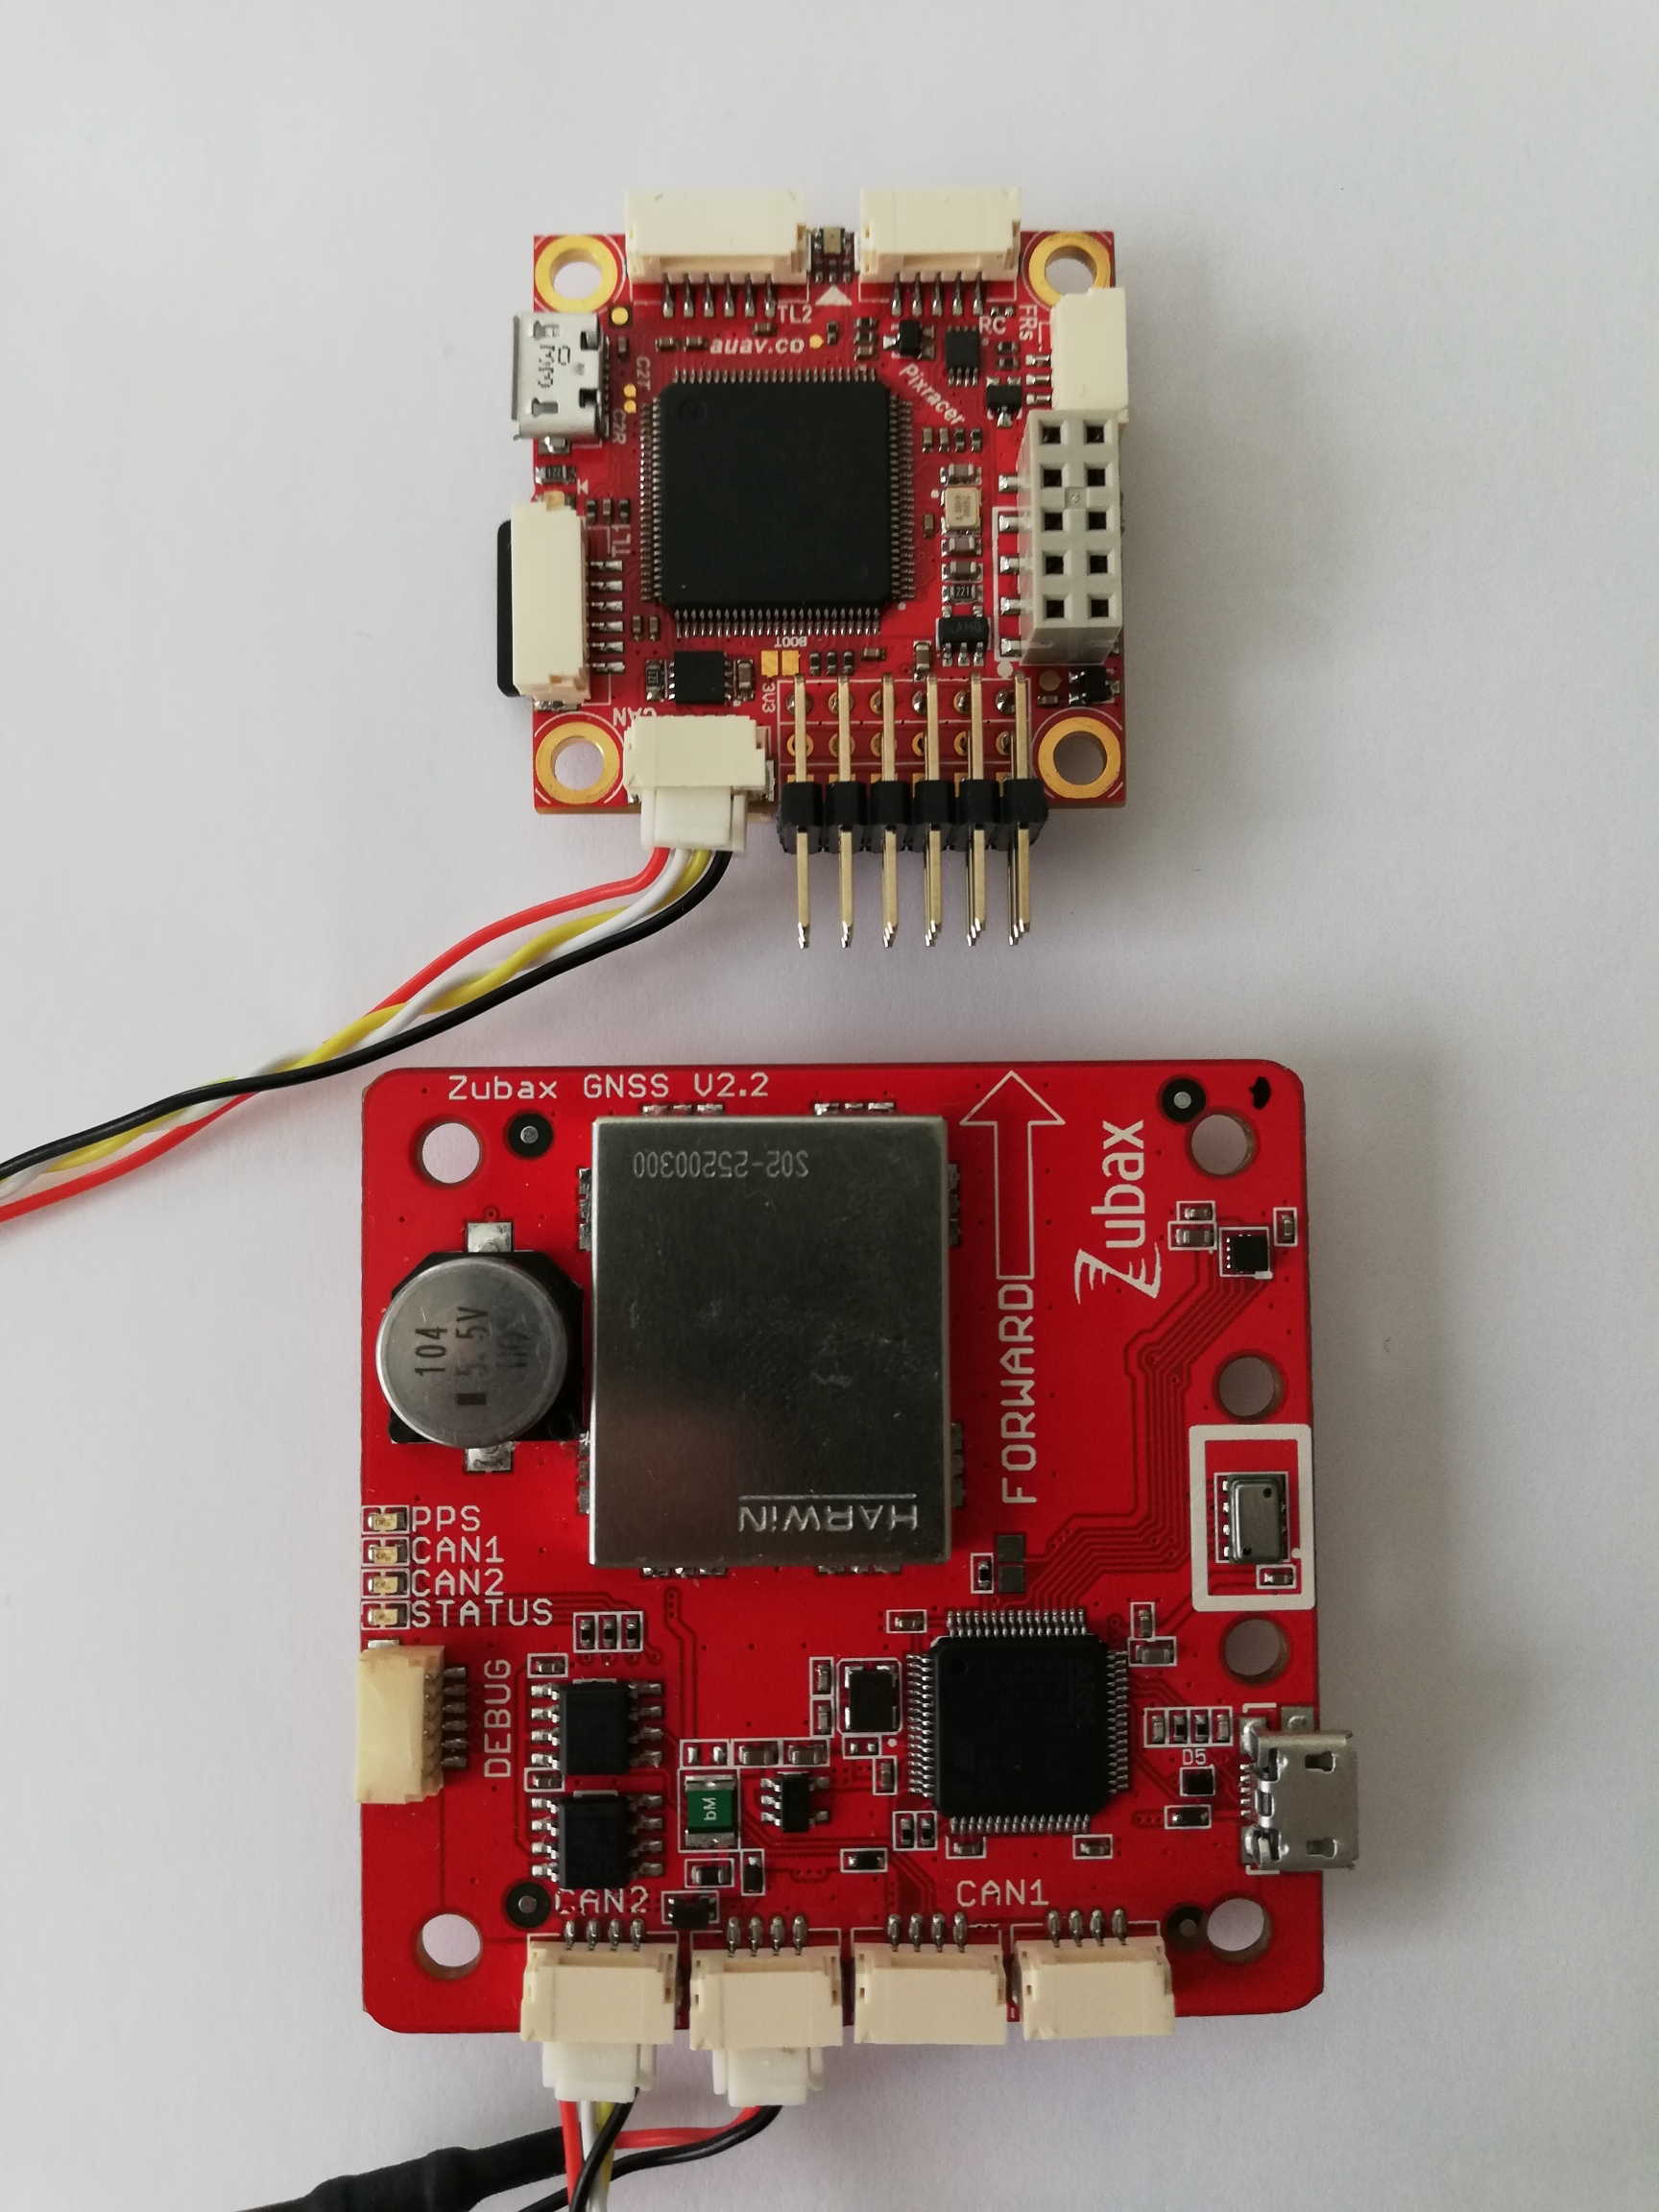
Before starting calibration make sure Zubax GNSS and PX4 are aligned (use arrow markings) as shown below.
For calibration please refer to the relevant documentation for details.
After calibration go to Parameters → System → System Calibration. It will appear that three compasses have calibrated. Two compasses (internal mag) are on PX4 and one compass (no rotation) is on the GNSS module.

By default external compass will be your primary compass. If not please copy the value from the CAL_MAGX_ID parameter to CAL_MAG_PRIME.

If the autopilot reports issues with high magnetic field offsets, set the parameter
mag.scaling_coefon Zubax GNSS to approximately0.6and try calibration again.
To check status or to troubleshoot the problem you can use MAVLINK console.
¶ Barometer
By default, an external barometer will be the primary barometer. All we have to do is to enable a barometer on GNSS.
¶ Enabling
Zubax GNSS is equipped with a command-line interface (CLI) exposed over a serial port that provides access to the device’s internal command shell. Refer to the relevant documentation for details.
To use command-line interface attach GNSS to computer using a USB interface.
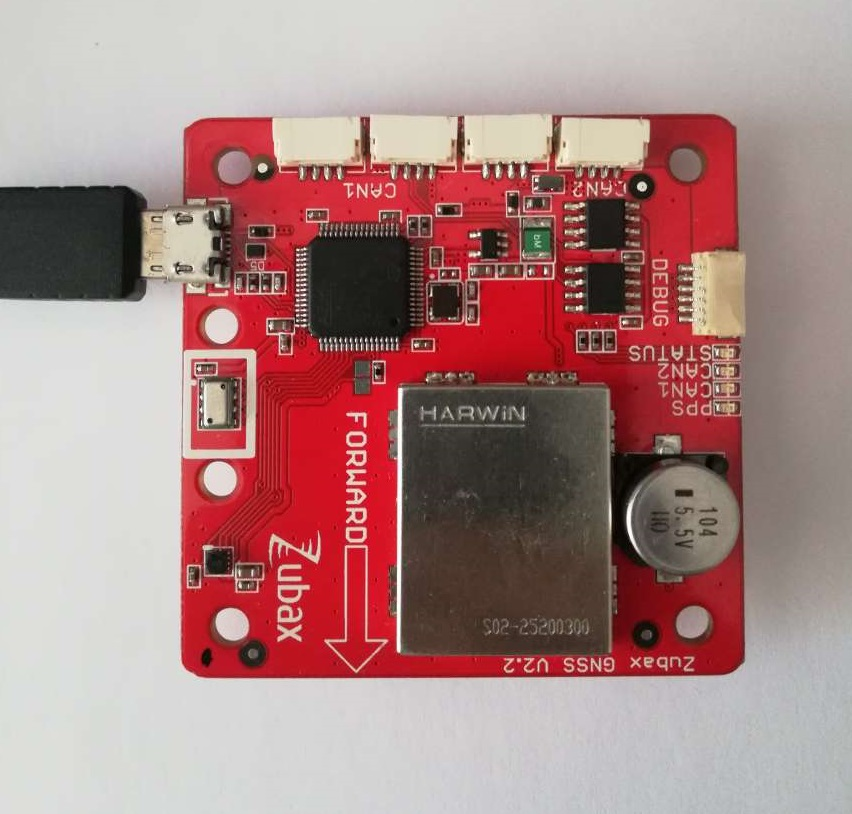
GNSS will appear as COM port.
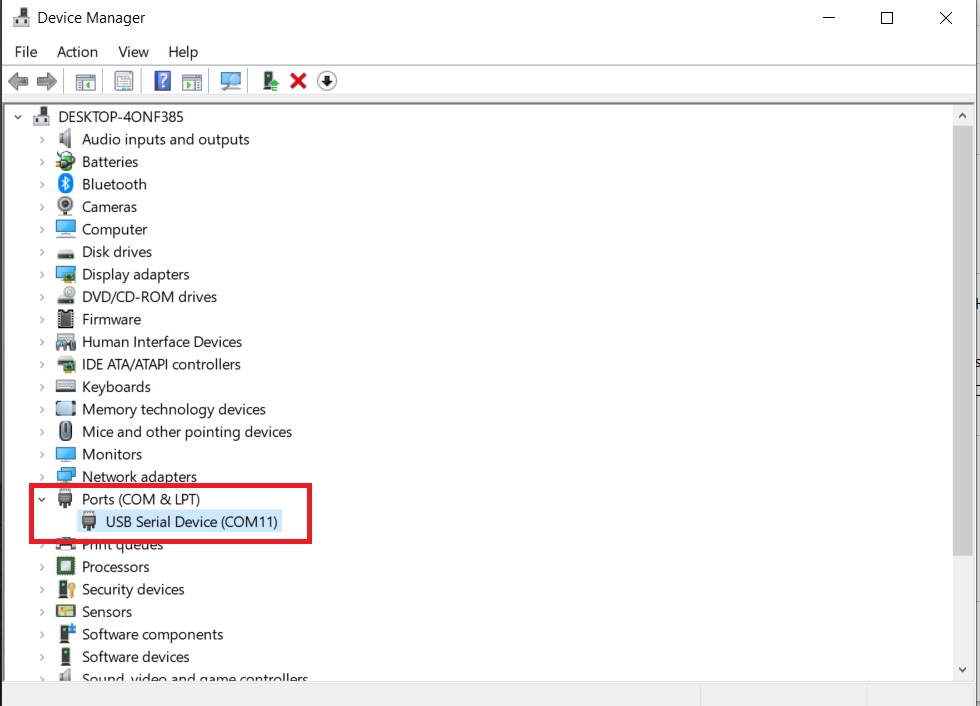
Open COM port under the following configurations.
¶ UART configuration
- Baud rate: 115200
- Word length: 8
- Parity: None
- Stop bits: 1
¶ Terminal configuration
Command-line interface parameters:
- Line ending: CR+LF (0x0D+0x0A,
\r\n) - Local echo: Off
- Local line editing: Off
Execute the following:
|
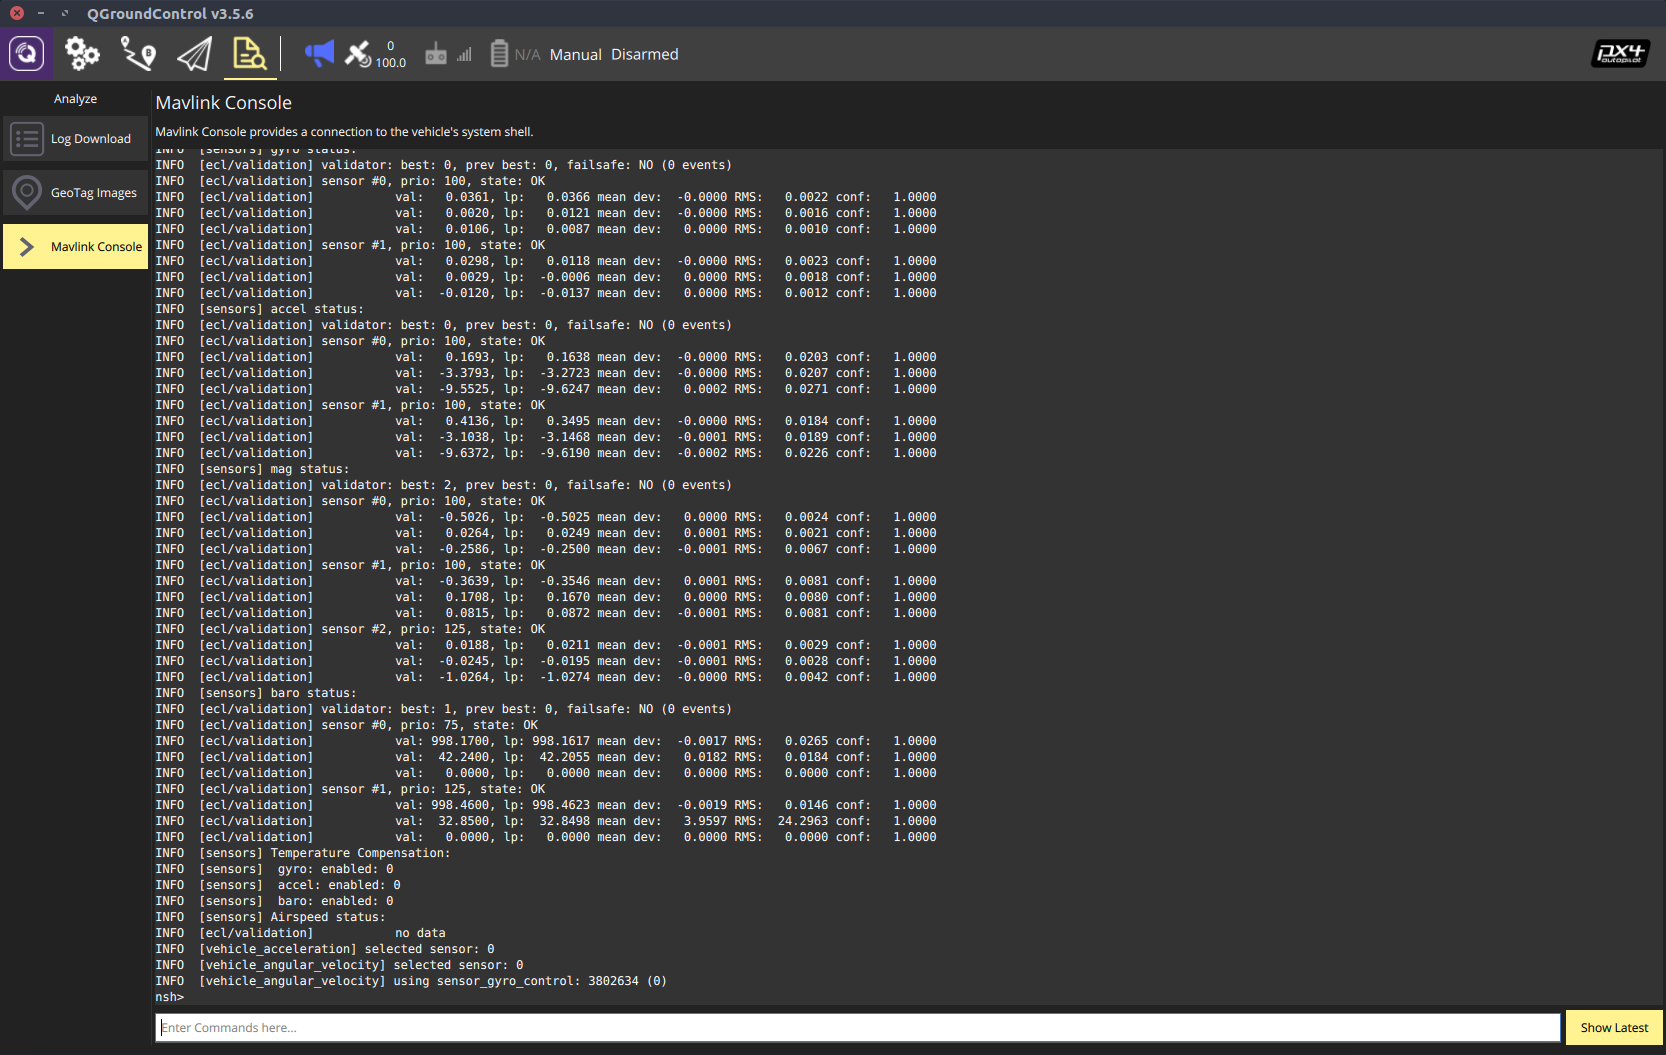
To debug or to check the status of barometer you can use Mavlink console.
¶ MAVLink Console
The MAVLink Console (Analyze → Mavlink Console) allows you to connect to the PX4 nsh shell and send commands.

Command ? will provide information about available commands.

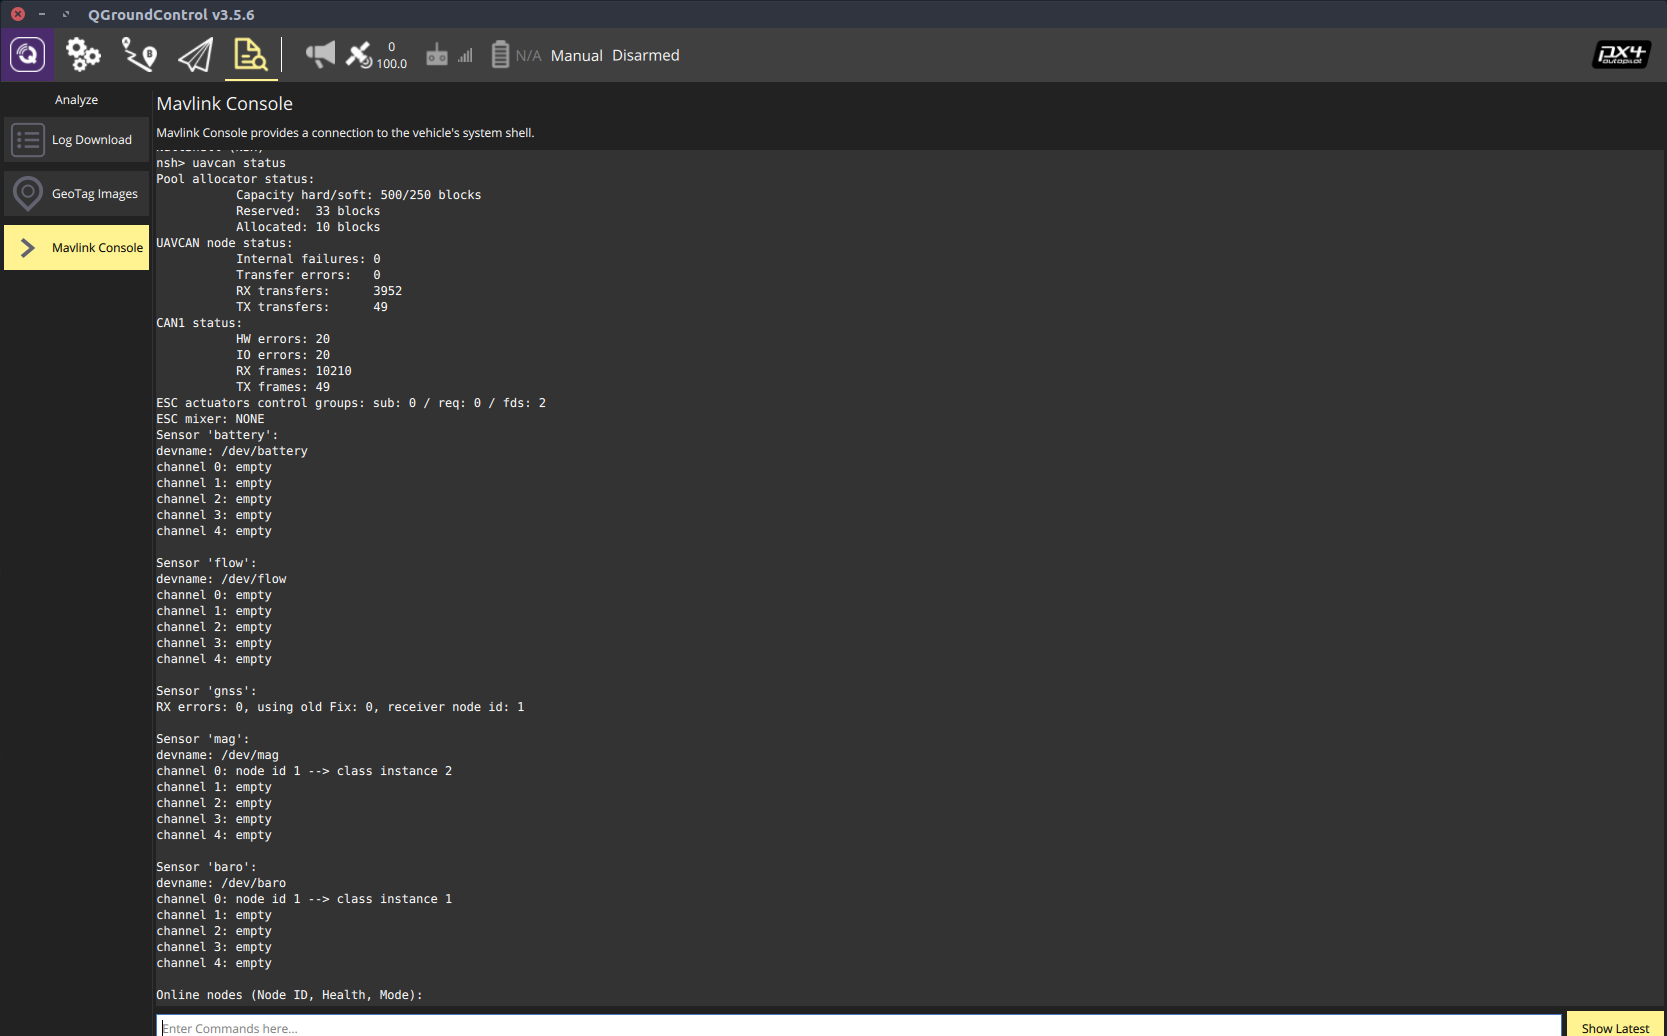
Command uavcan status will display the status of uavcan and all sensors attached to it.
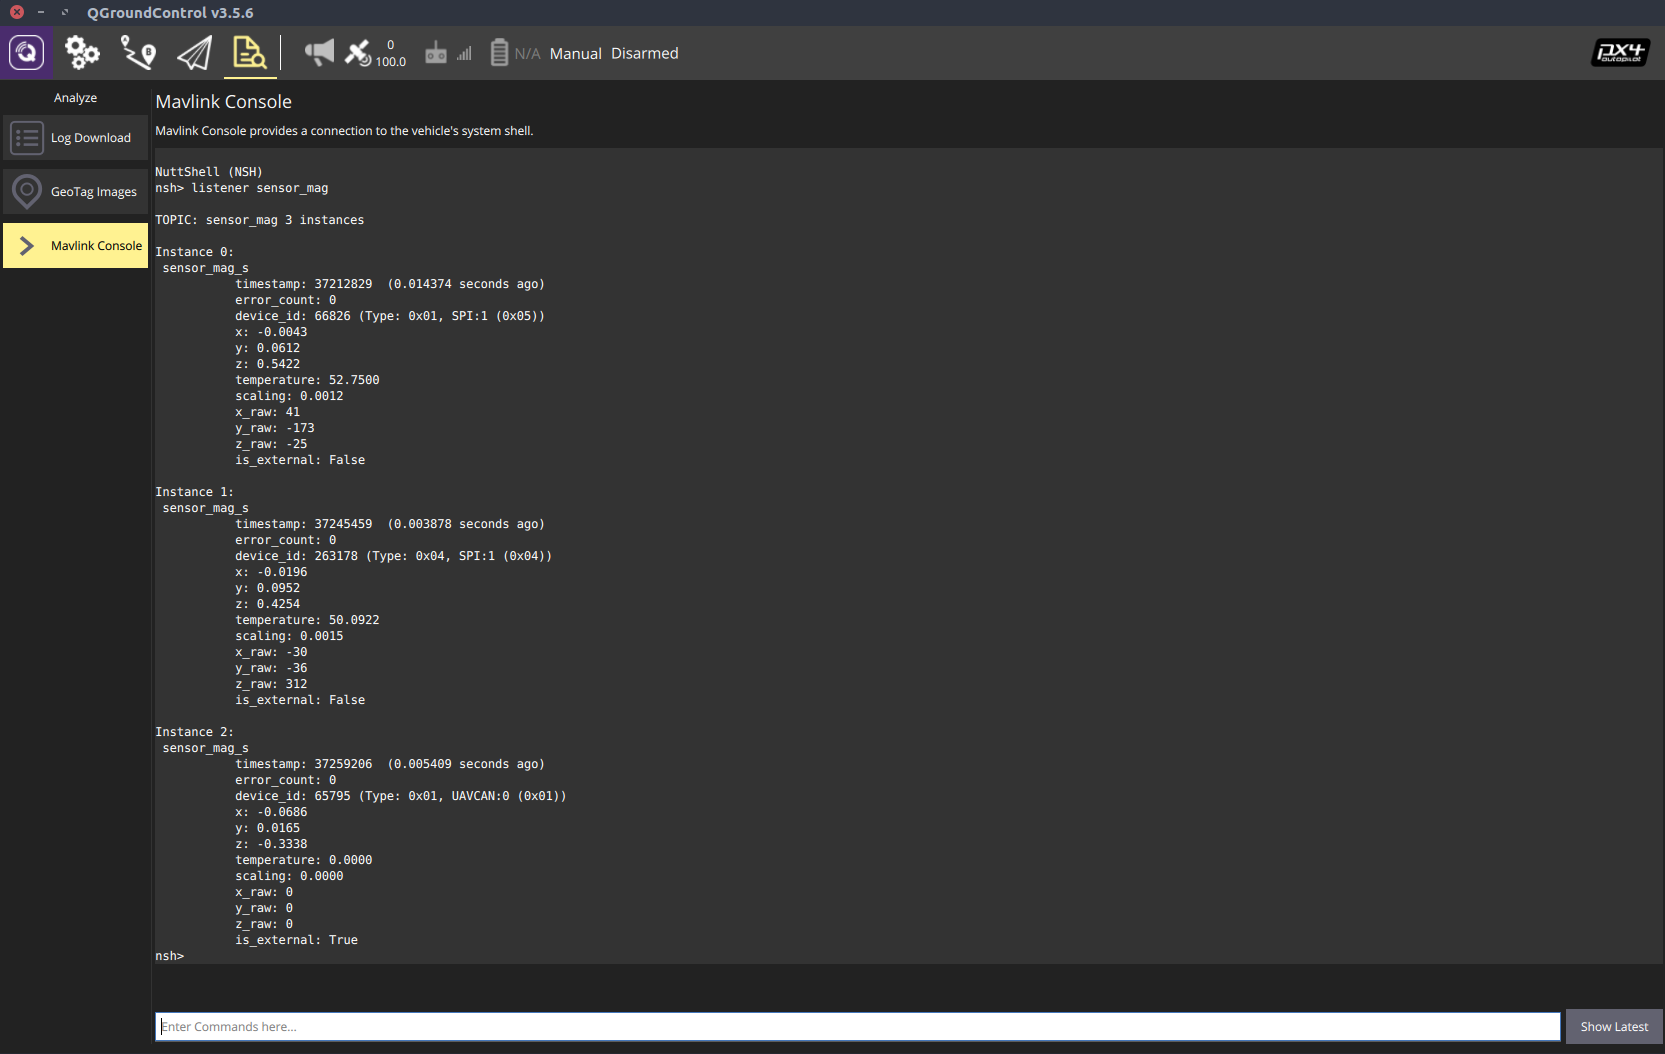
Command listener sensor_mag will display all compasses attached to the system and their status.
Command listener sensor_baro will display all barometers attached to the system and their status.
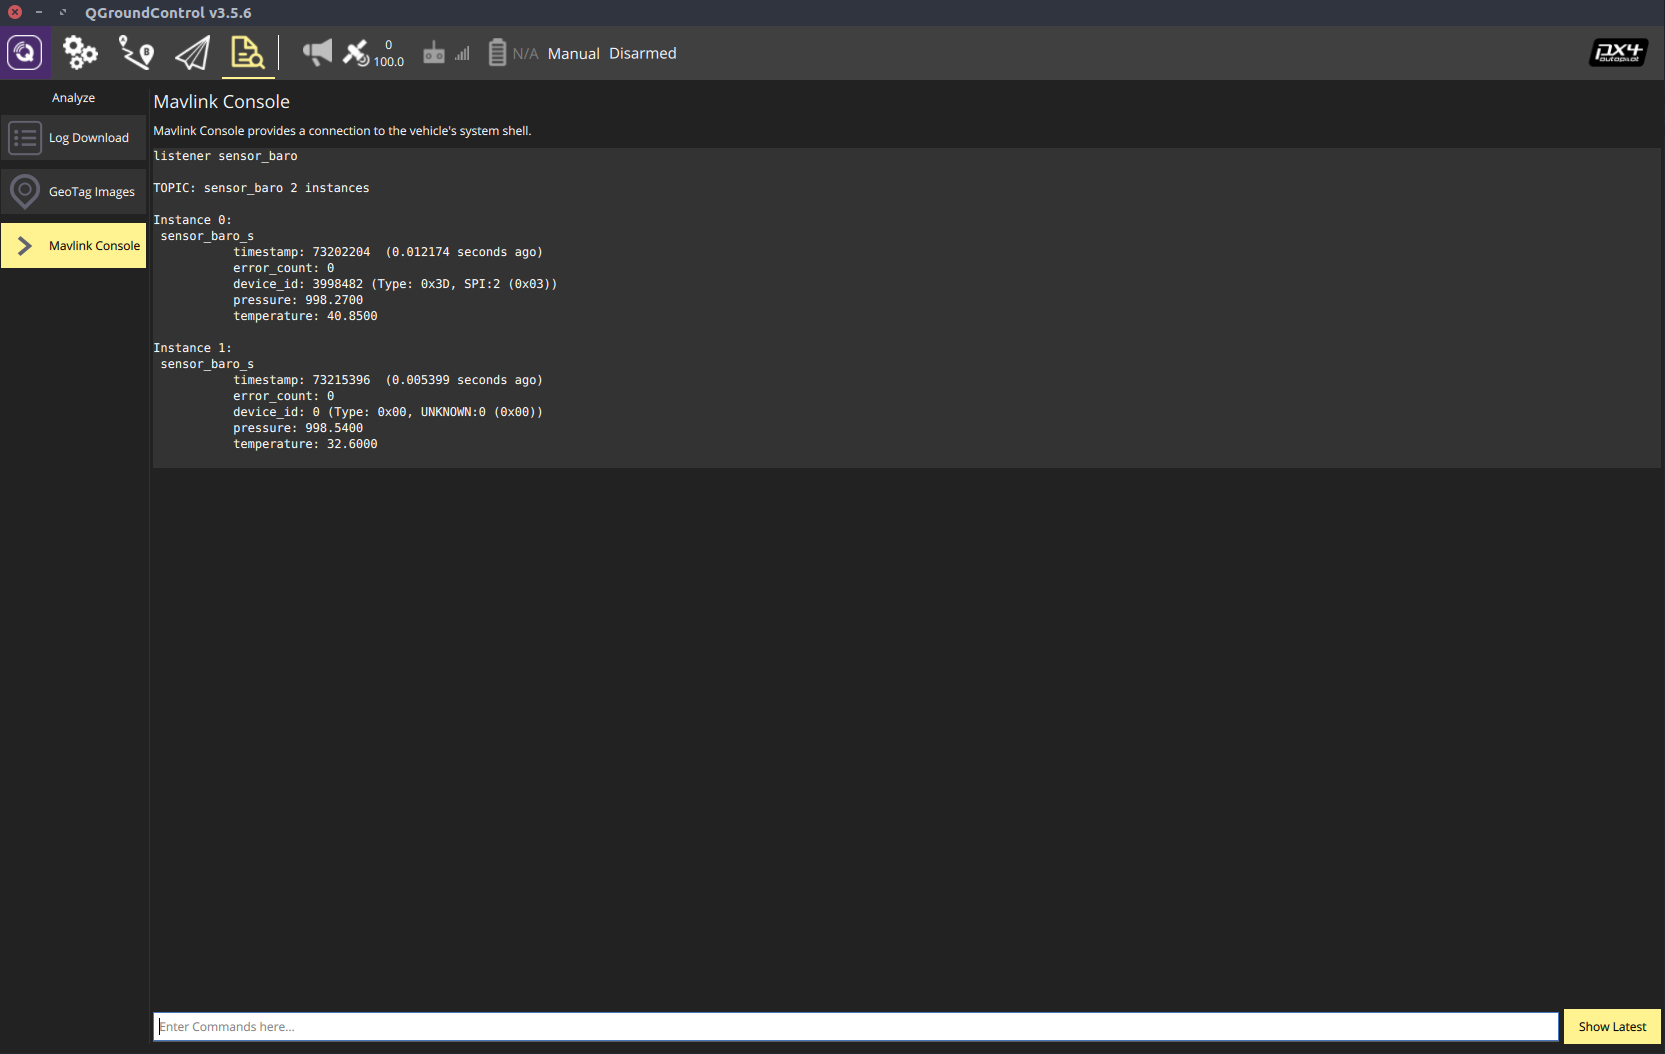
Command sensors status will display the status of all sensors and their priority. As you can see the external compass has the highest priority.
