¶ Using Zubax GNSS with GIS software
Since Zubax GNSS 2 supports the standard NMEA protocol, it can be used with virtually any software designed to work with generic GNSS receivers.
This tutorial demonstrates how to use Zubax GNSS 2 with GIS software using QGIS as an example. QGIS is a free and open source cross-platform geographic information system suite that works on Windows, Linux, and Mac (learn more at http://qgis.org). Explanations provided in this tutorial are also applicable to other GIS software products.
¶ Installing QGIS

QGIS installation files for Windows, Mac, and Linux can be freely downloaded from http://www.qgis.org/en/site/forusers/download.html.
On some Linux distributions it is also possible to install QGIS from package repositories, e.g. on Ubuntu: sudo apt-get install qgis.
Once QGIS is installed, launch it, and connect Zubax GNSS 2 to the computer via USB.
¶ Configuring QGIS
In order to make QGIS receive measurements from your Zubax GNSS 2 in real time, enable the GNSS information panel by clicking View → Panels → GPS Information Panel.
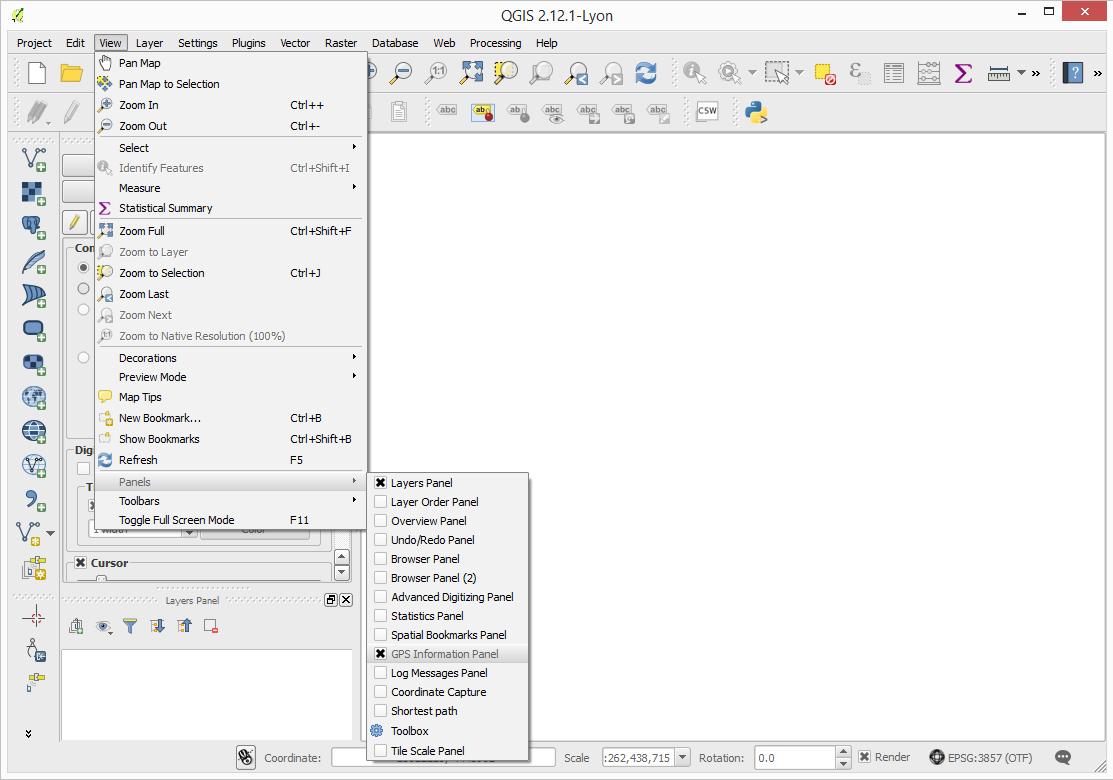
A panel will appear like shown on the screenshot below. On the panel:
- Select
Serial device - Select the correct serial port in the dropdown list.
- Press
Connect.
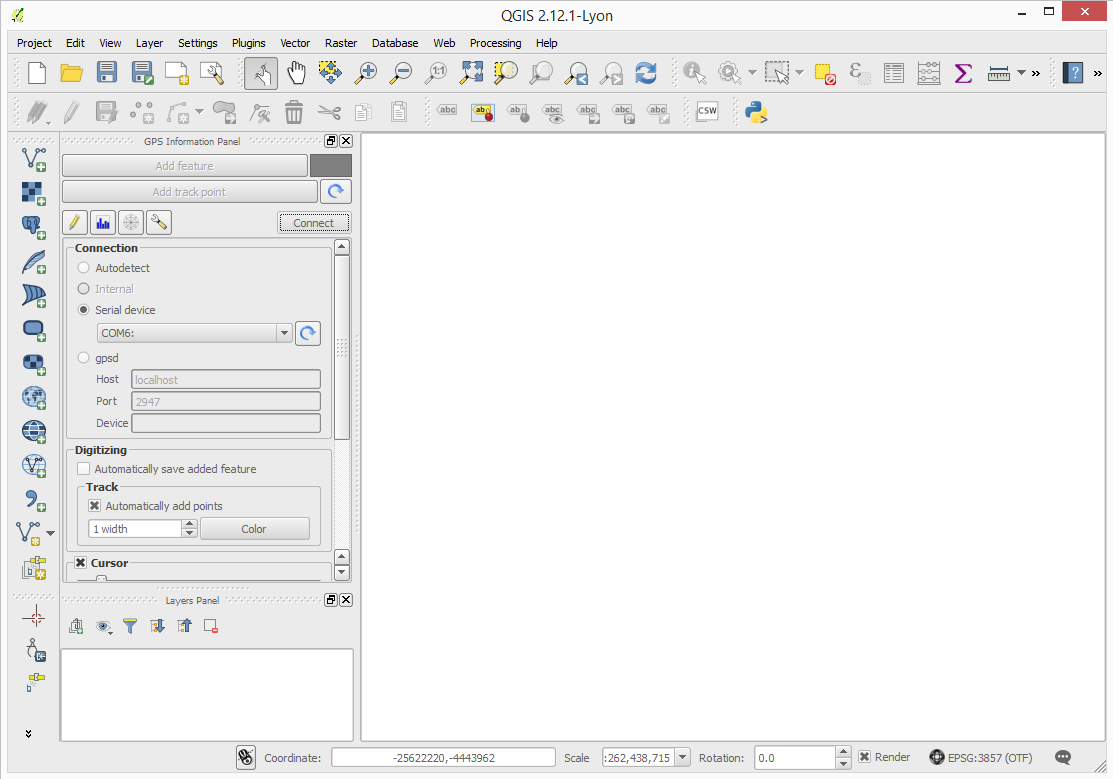
Now the software is connected and receiving measurements from Zubax GNSS 2. The current position will be indicated with a cross. However, right now it’s not of much use, so in the steps below we’ll add a map.
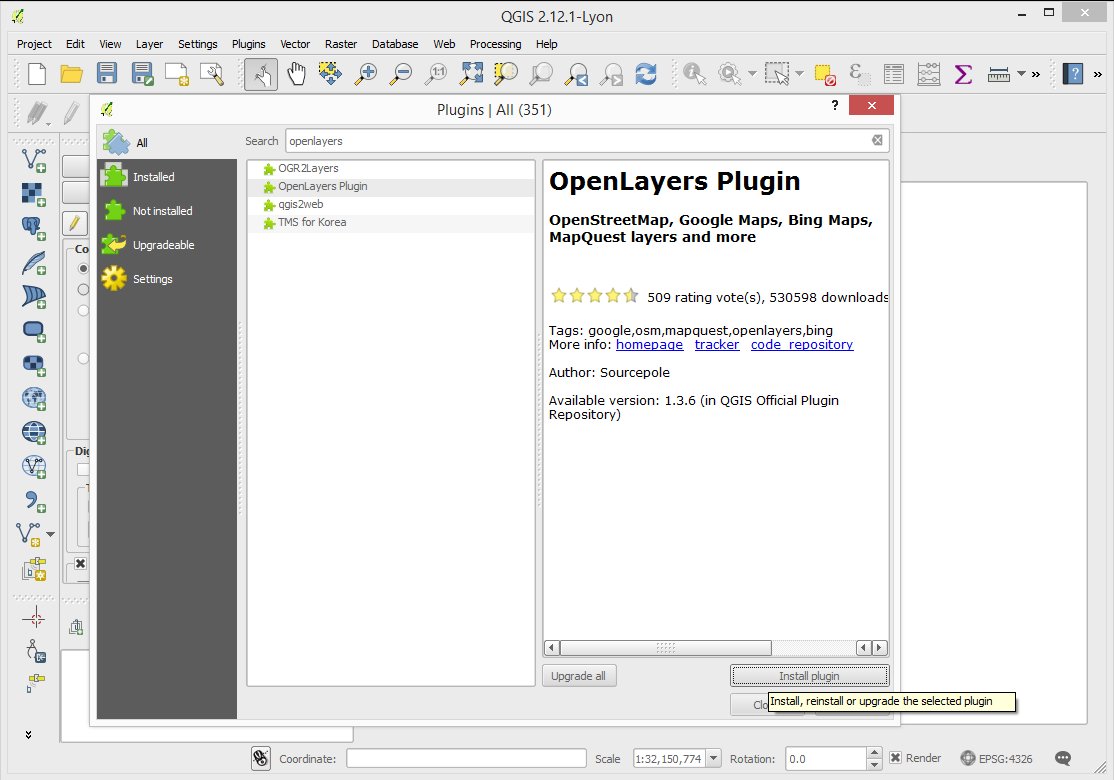
Click Plugins → Manage and Install Plugins..... A window like shown below will appear. In the window, find the plugin OpenLayers Plugin using the search bar, select it, and press Install plugin.
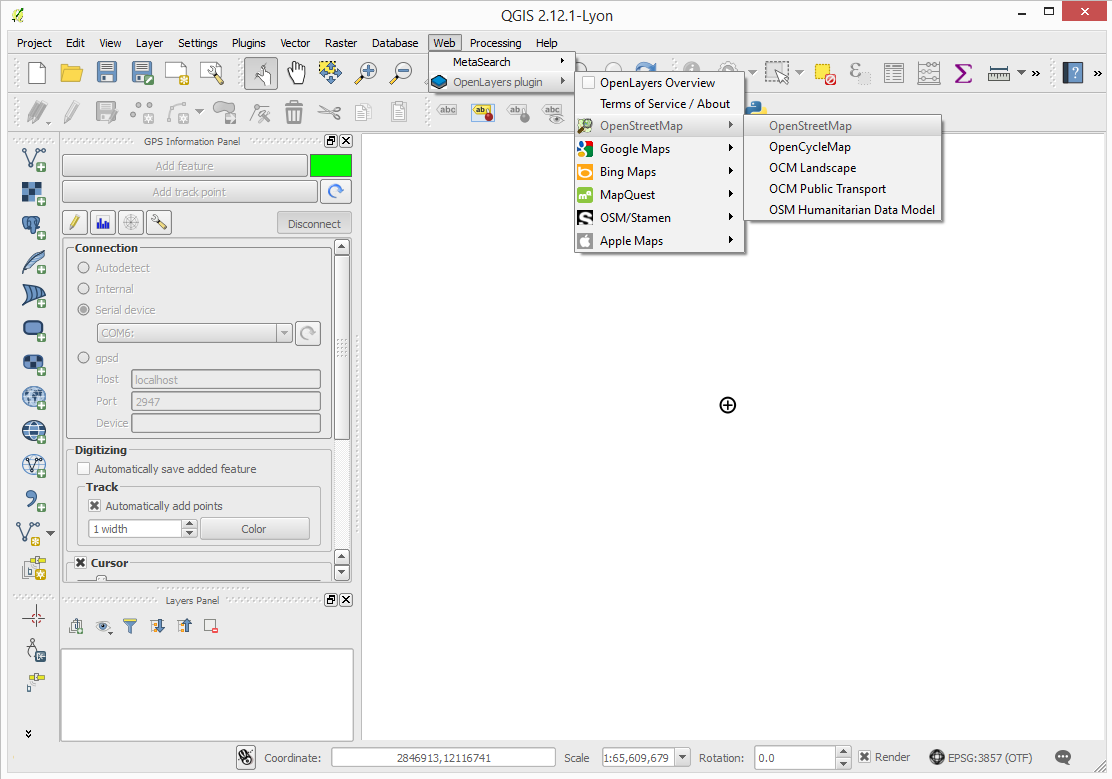
Having installed the plugin, click Web → OpenLayers plugin → OpenStreetMap → OpenStreetMap.
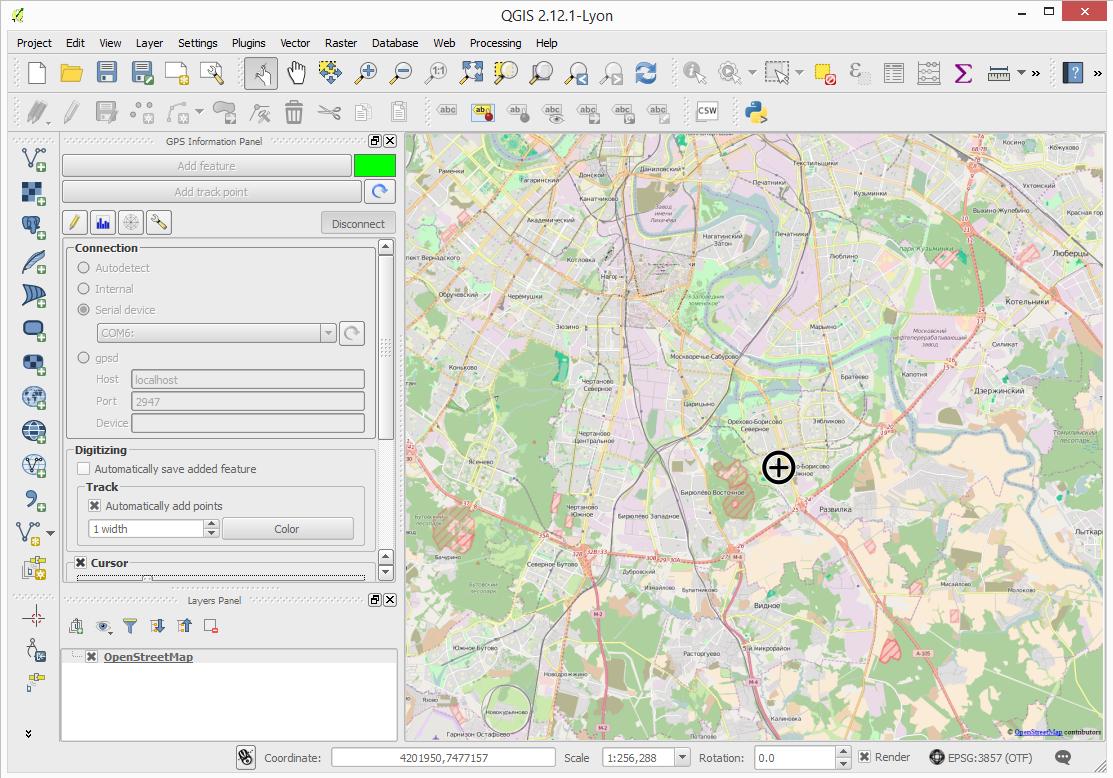
The result is shown on the screenshot below.
