¶ Using Telega-based controllers with PX4 autopilots
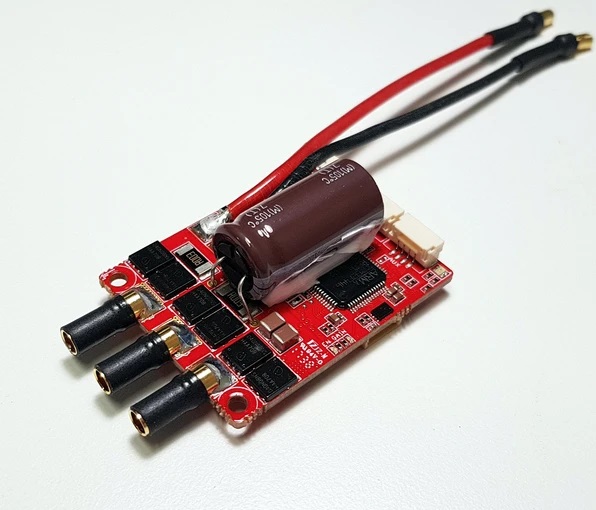
This tutorial demonstrates how to use Telega-based controllers with ArduPilot based flight controllers. The version of PX4 firmware involved in this tutorial is v1.10.1. The documentation for PX4 is available at px4.io. The controller used in this tutorial is Myxa but this tutorial applies to all other types of telega-based controllers.
¶ Software Installation
QGroundControl provides full flight control and vehicle setup for PX4 powered vehicles. It provides easy and straightforward usage for beginners, while still delivering high end feature support for experienced users.
To download and install software please refer to the relevant documentation for details.
You will also need to install UAVCAN GUI tool which will be used to enumerate telega based ESC and to set the direction of motors. To download UAVCAN GUI tool please refer to the relevant documentation for details.
¶ Required parts
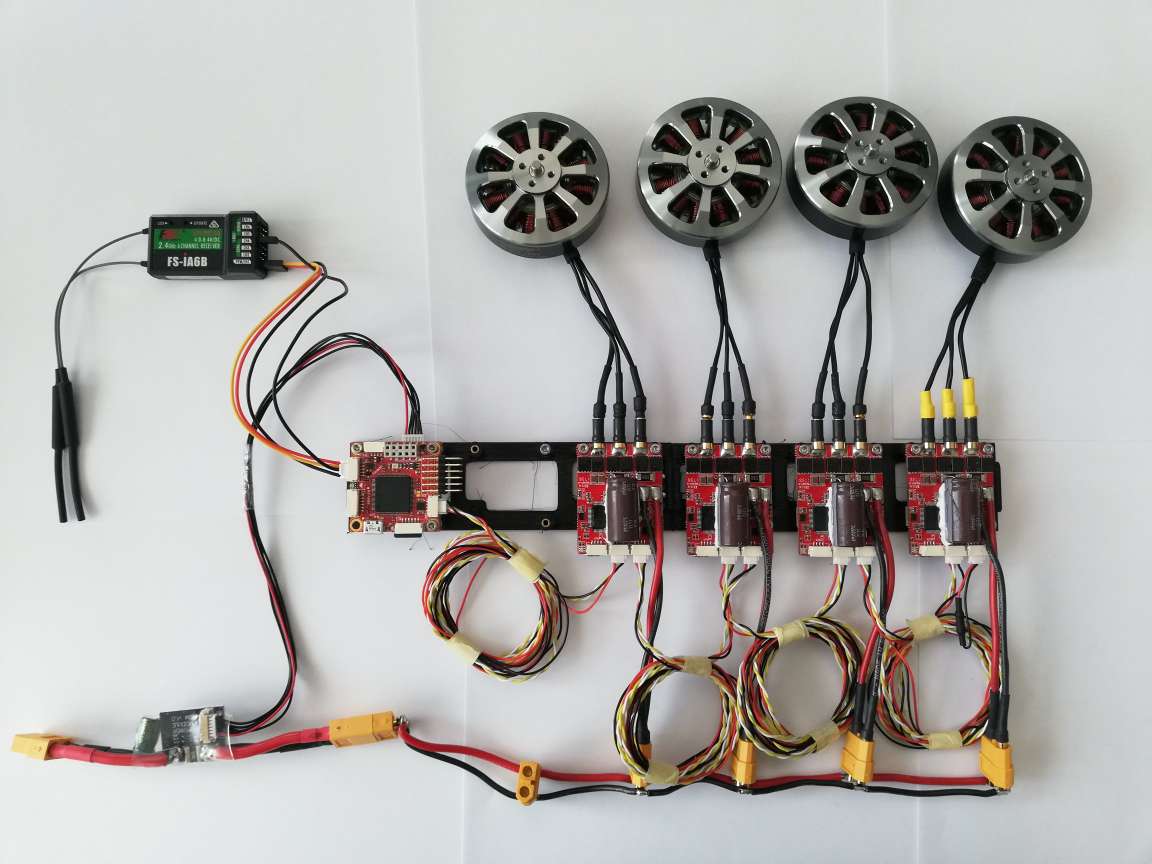
The tutorial is set up for quadcopter but it is applicable for all types of frames. To follow along, the following parts will be needed:
- 4 x Telega-based controllers
- 4 x UAVCAN Micro patch cable (or an adapter cable, depending on the type of CAN connectors used in the autopilot hardware).
- 1 x UAVCAN Micro termination plug.
- 1 x Zubax Babel
Please contact your supplier for ordering information. Alternatively, customers can choose to manufacture the needed cables/plugs on their own in order to suit some custom needs, in which case they should refer to the relevant documentation for details.
¶ Connecting
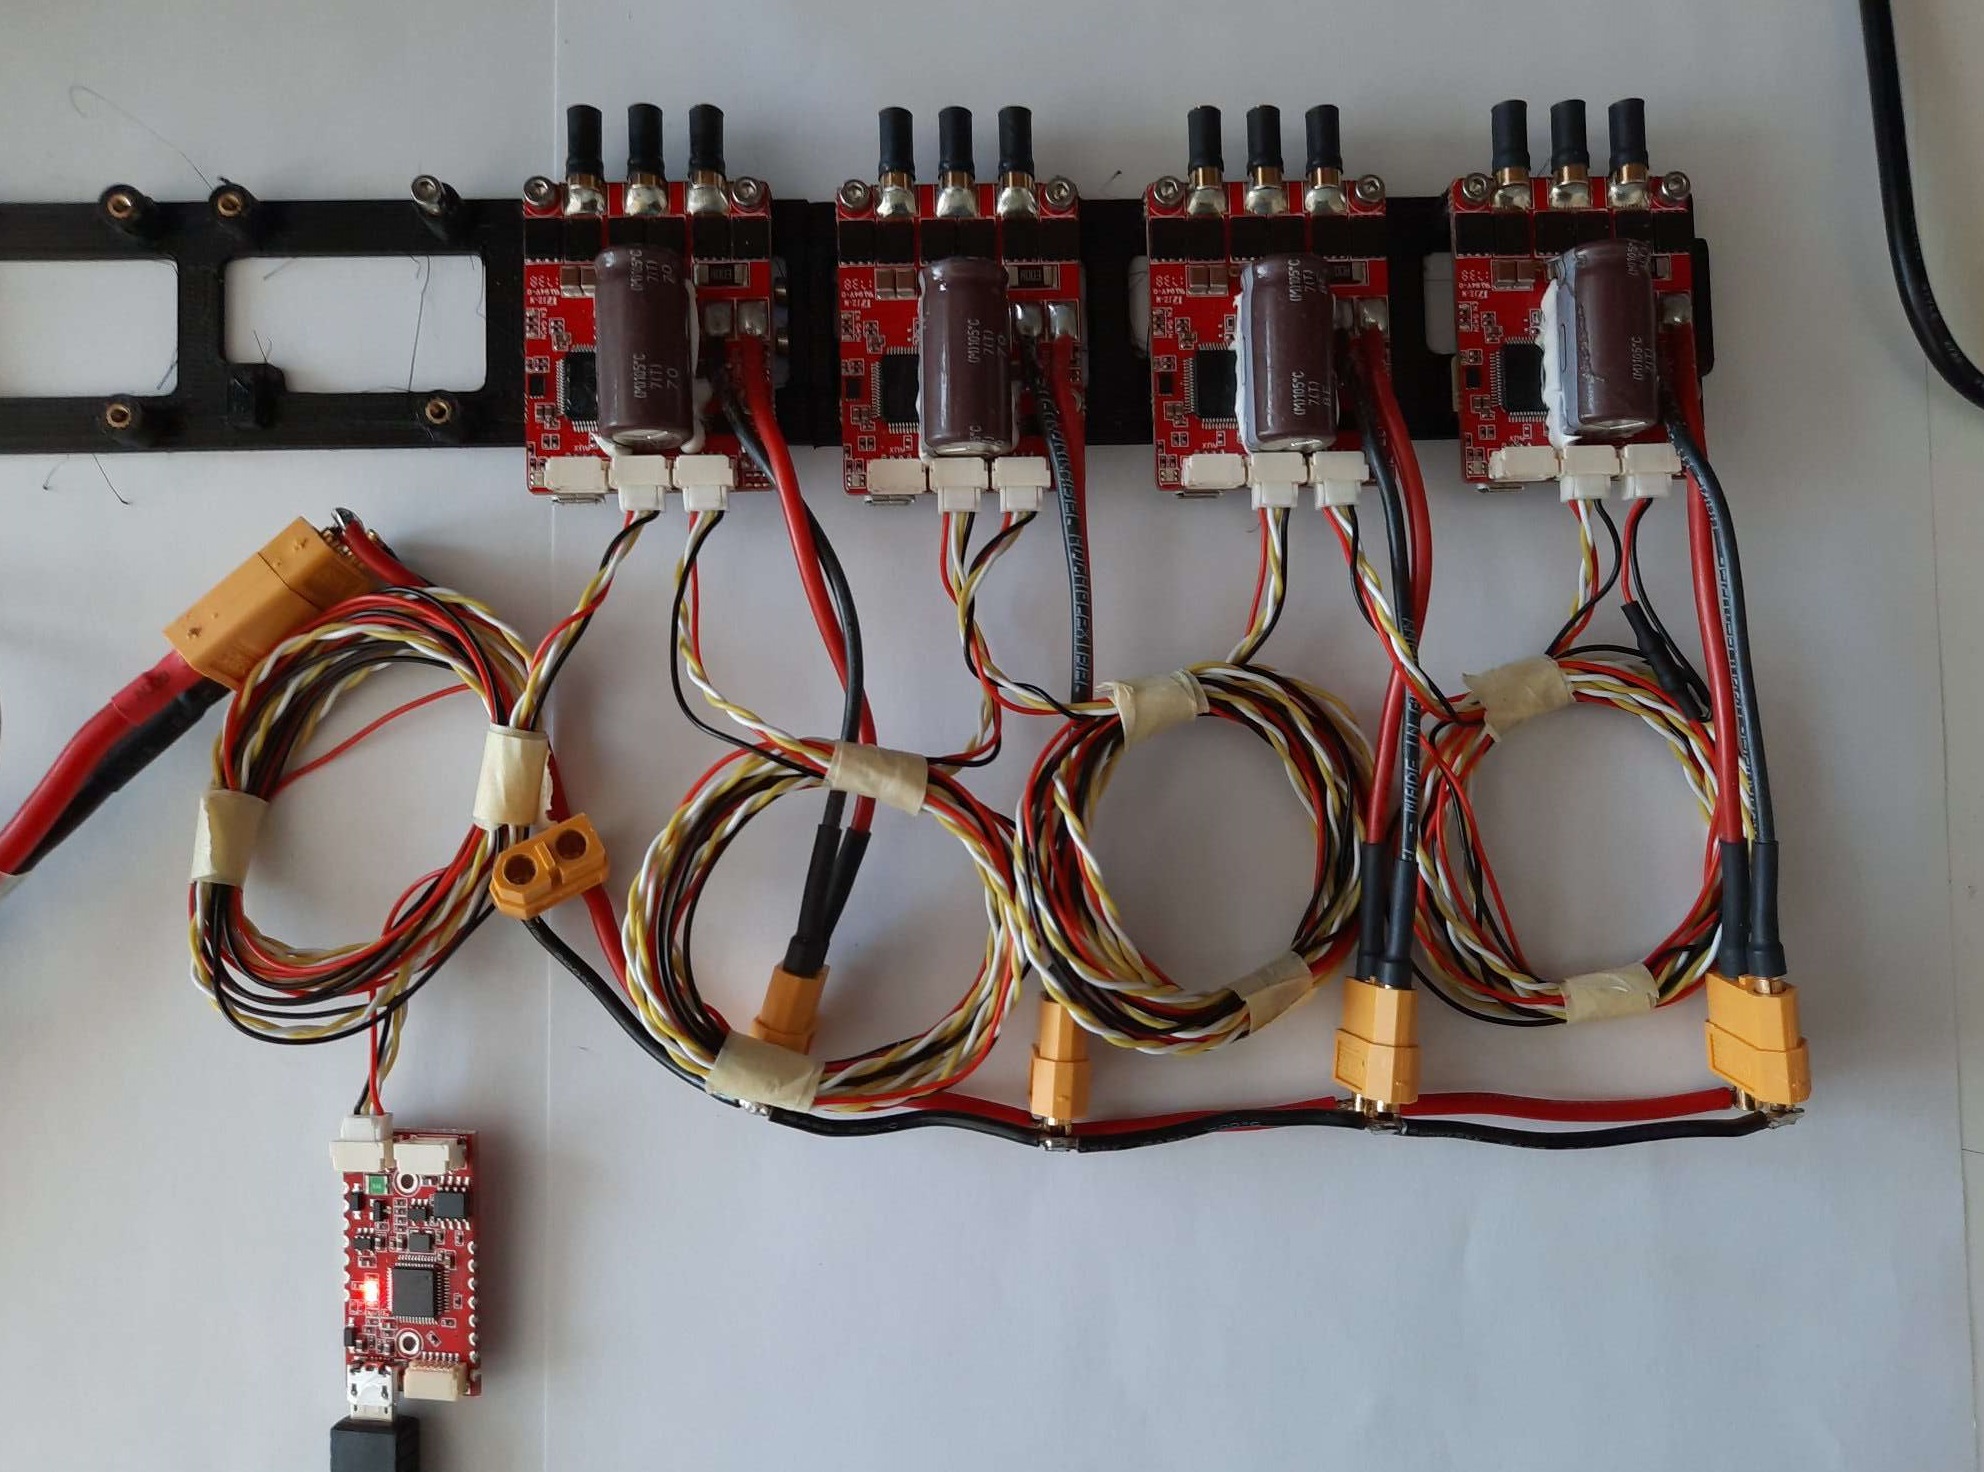
Connect all of the on-board UAVCAN devices into a chain and make sure the bus is terminated at the end nodes. The order in which the ESCs are connected/chained does not matter.
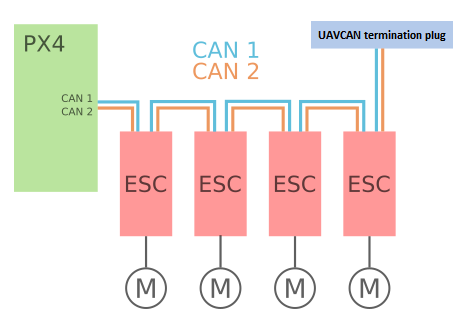
Image source [https://dev.px4.io/v1.9.0/en/uavcan/index.html]
¶ Configuring ESC
UAVCAN devices are generally Plug'n'Play you will still need to enumerate (assign index/number) each of the ESC used in your vehicle and set their direction so that they can be identified/controlled by PX4. To enumerate the ESC you can either use the UAVCAN GUI tool via UAVCAN bus or Kucher via USB link (for myxa only).
¶ UAVCAN
Connect all ESCs into a chain with Babel.
Open the UAVCAN GUI tool, apply local node ID and then launch the dynamic node ID allocation server.

All connected ESCs will appear as nodes. Double click on the node to open its properties window.

Click on button Fetch All to fetch all parameters of the node.

Enumerate ESC and set the direction of the motor by writing into the following configuration parameters.
uavcan.esc_indexuavcan.esc_revrs

Repeat this process for all other ESCs.
¶ USB
To download and install Kucher please refer to the relevant documentation for details.
Connect Myxa with a computer using a micro USB cable.
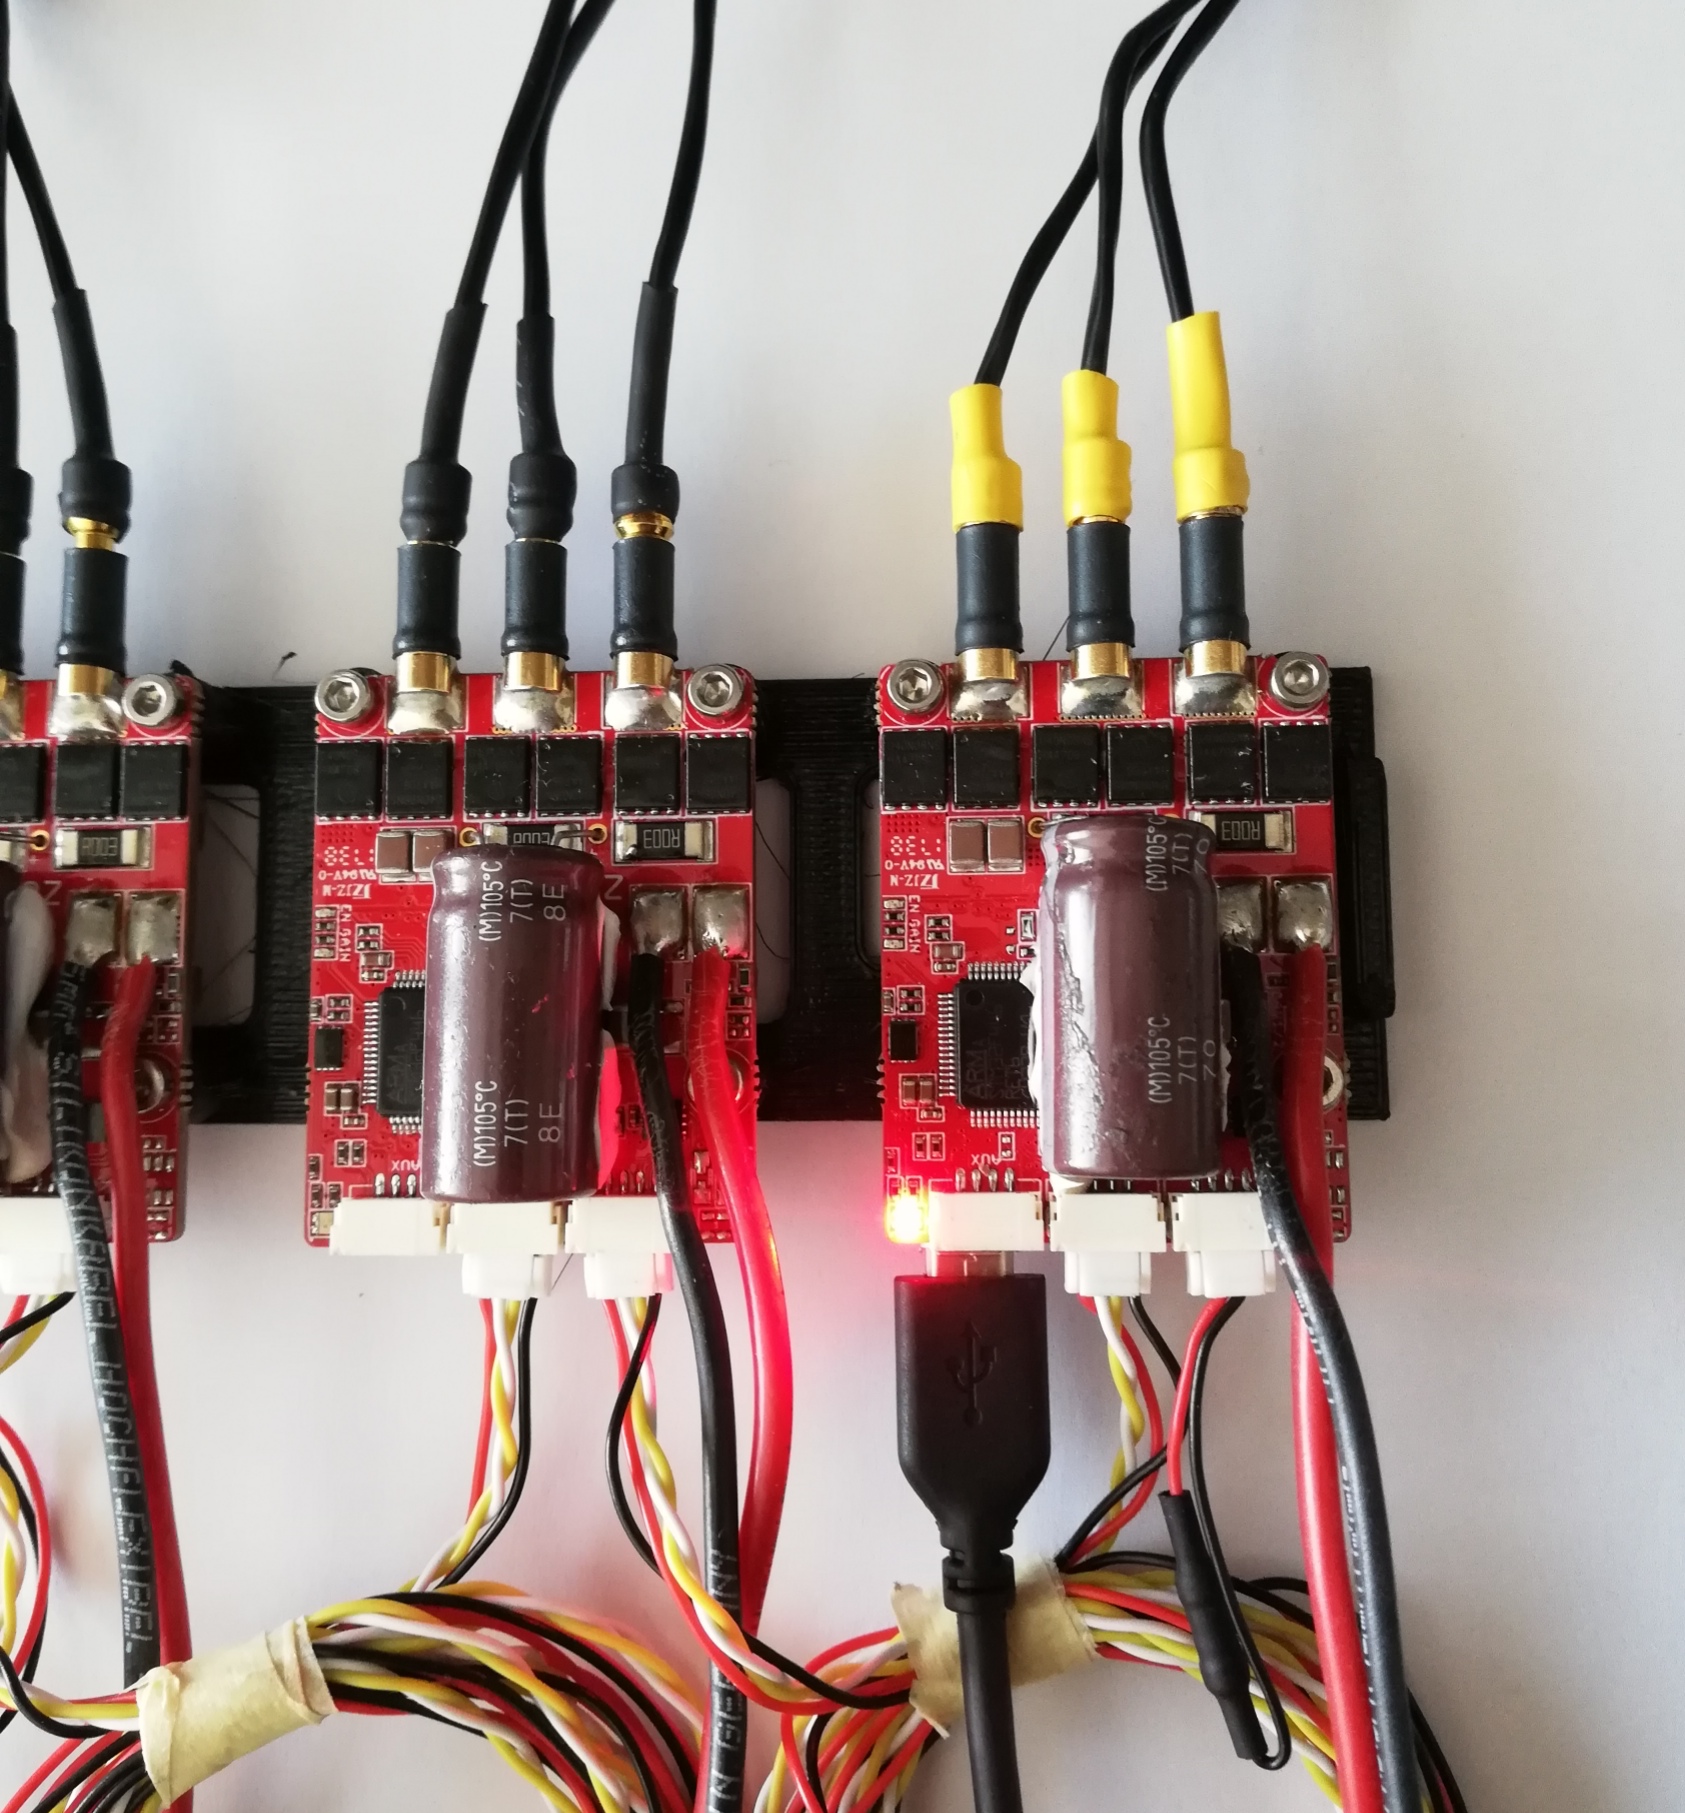
Open Kucher, select Port and press Connect button to establish a link between Kucher and Myxa ESC.

Enumerate ESC and set the direction of the motor by writing into the following configuration parameters.
esc_indexesc_revrs
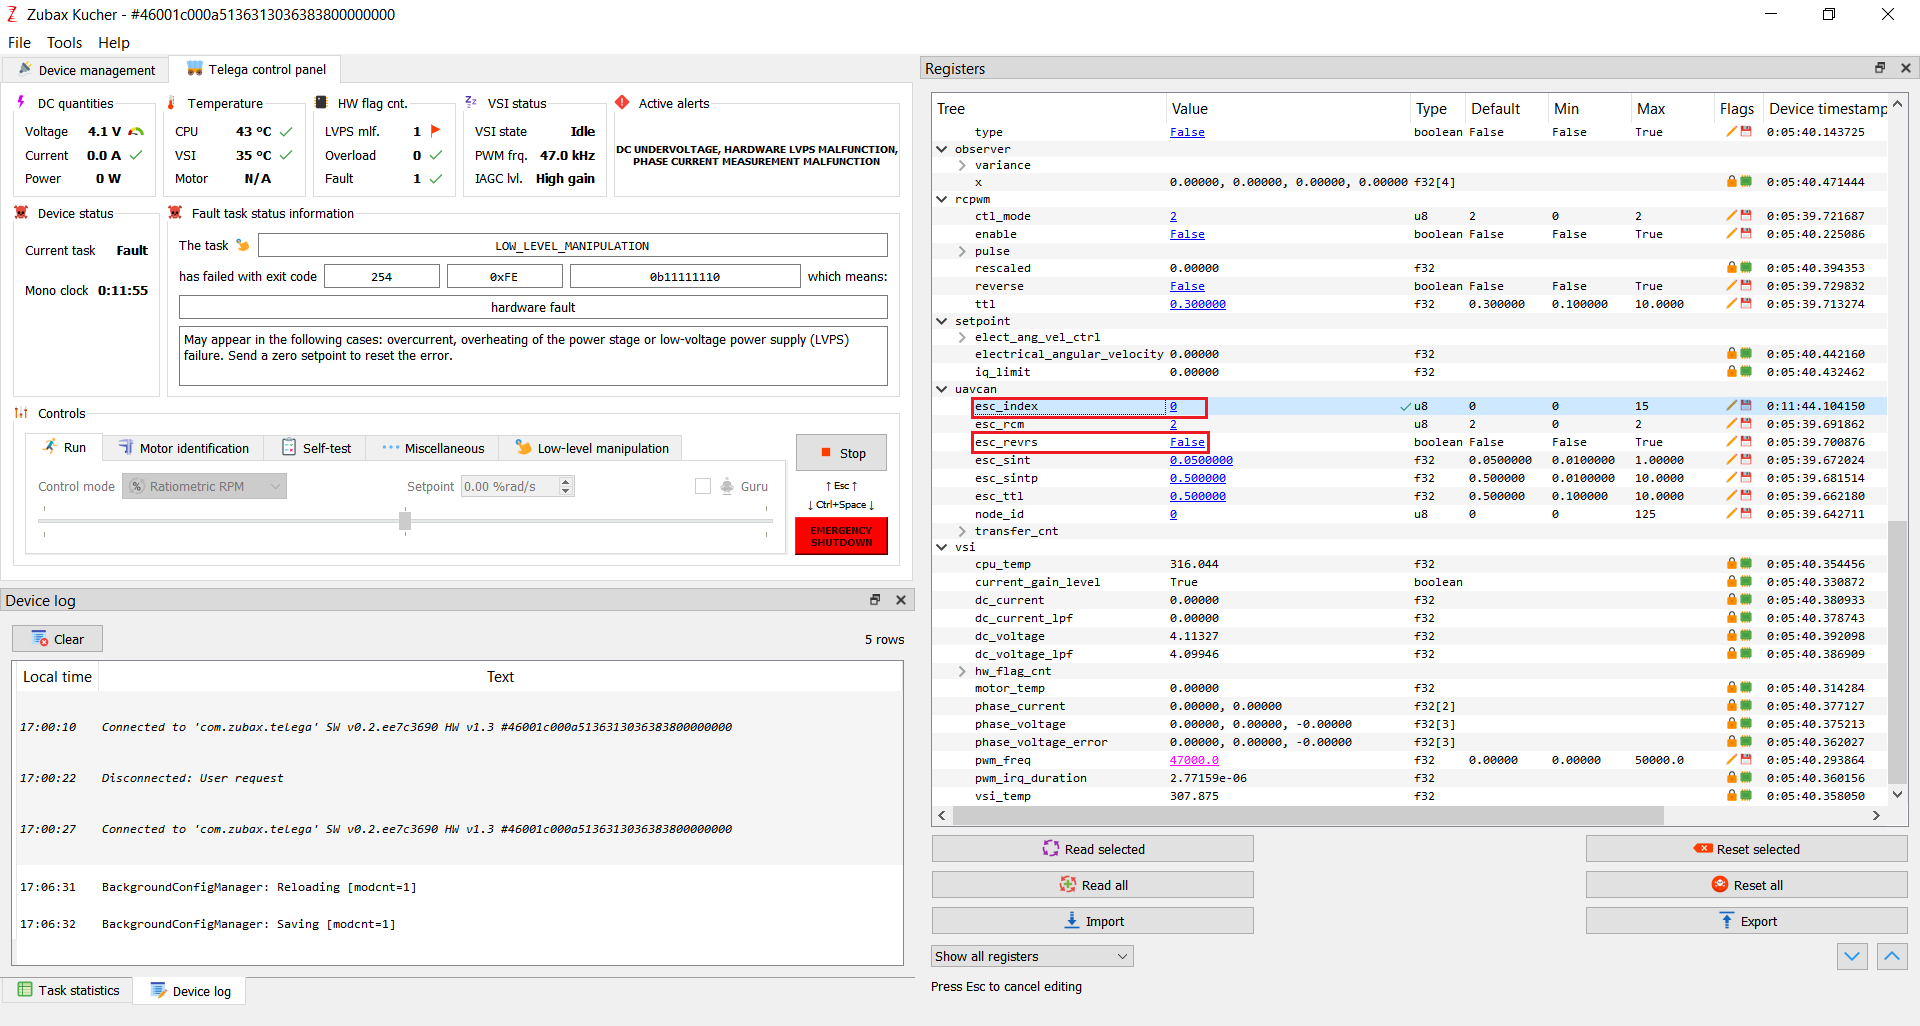
Repeat this process for all other ESCs.
¶ Configuring the PX4 flight controller
Open QGroundControl application.
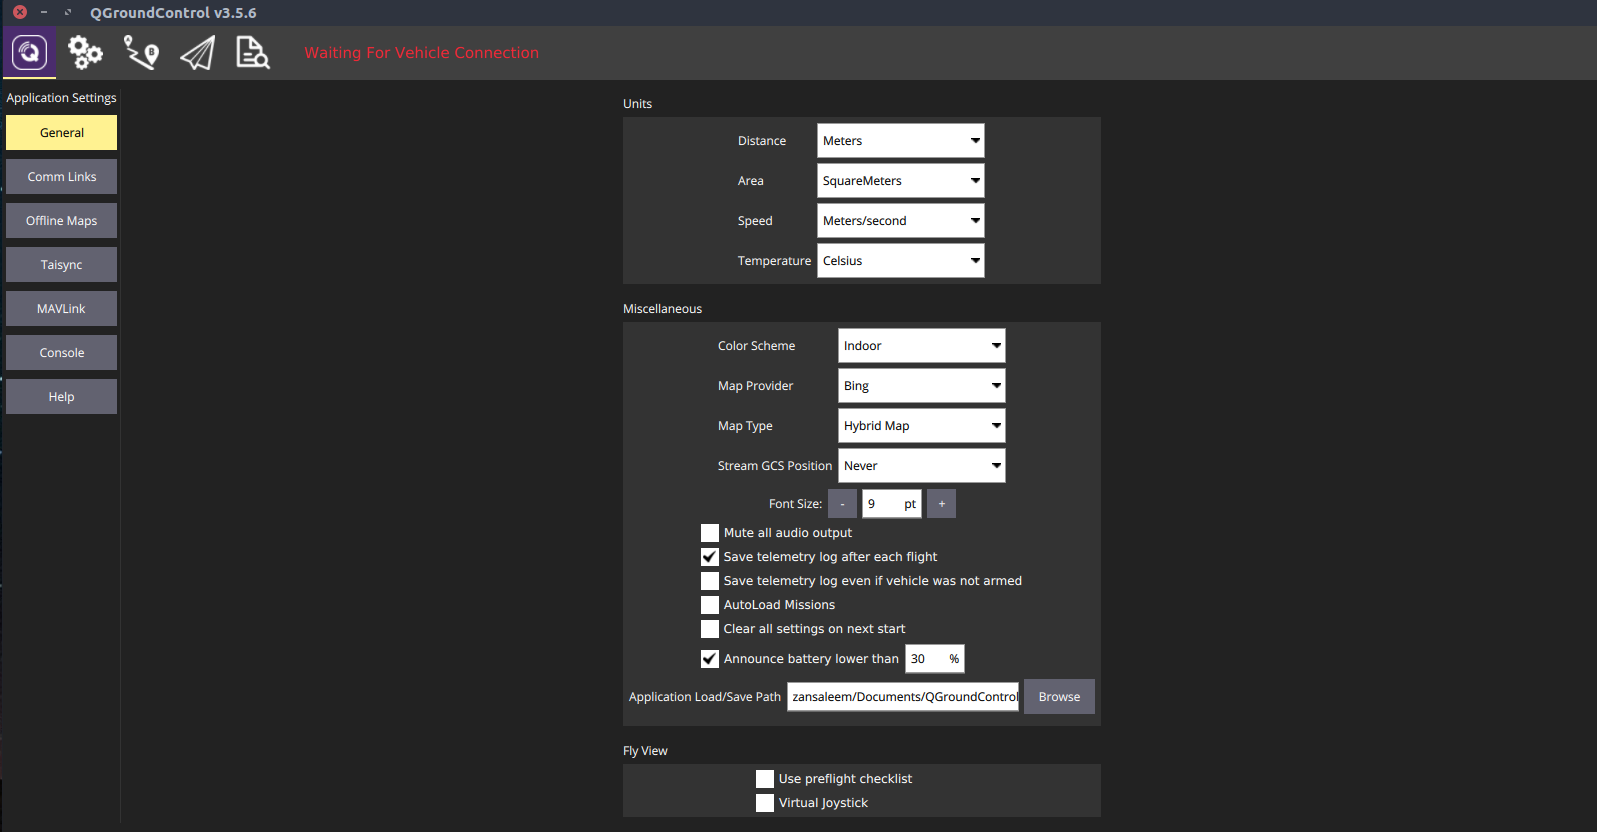
Connect Pixhawk with a computer using the micro USB cable. (Device will appear in QGroundControl application).
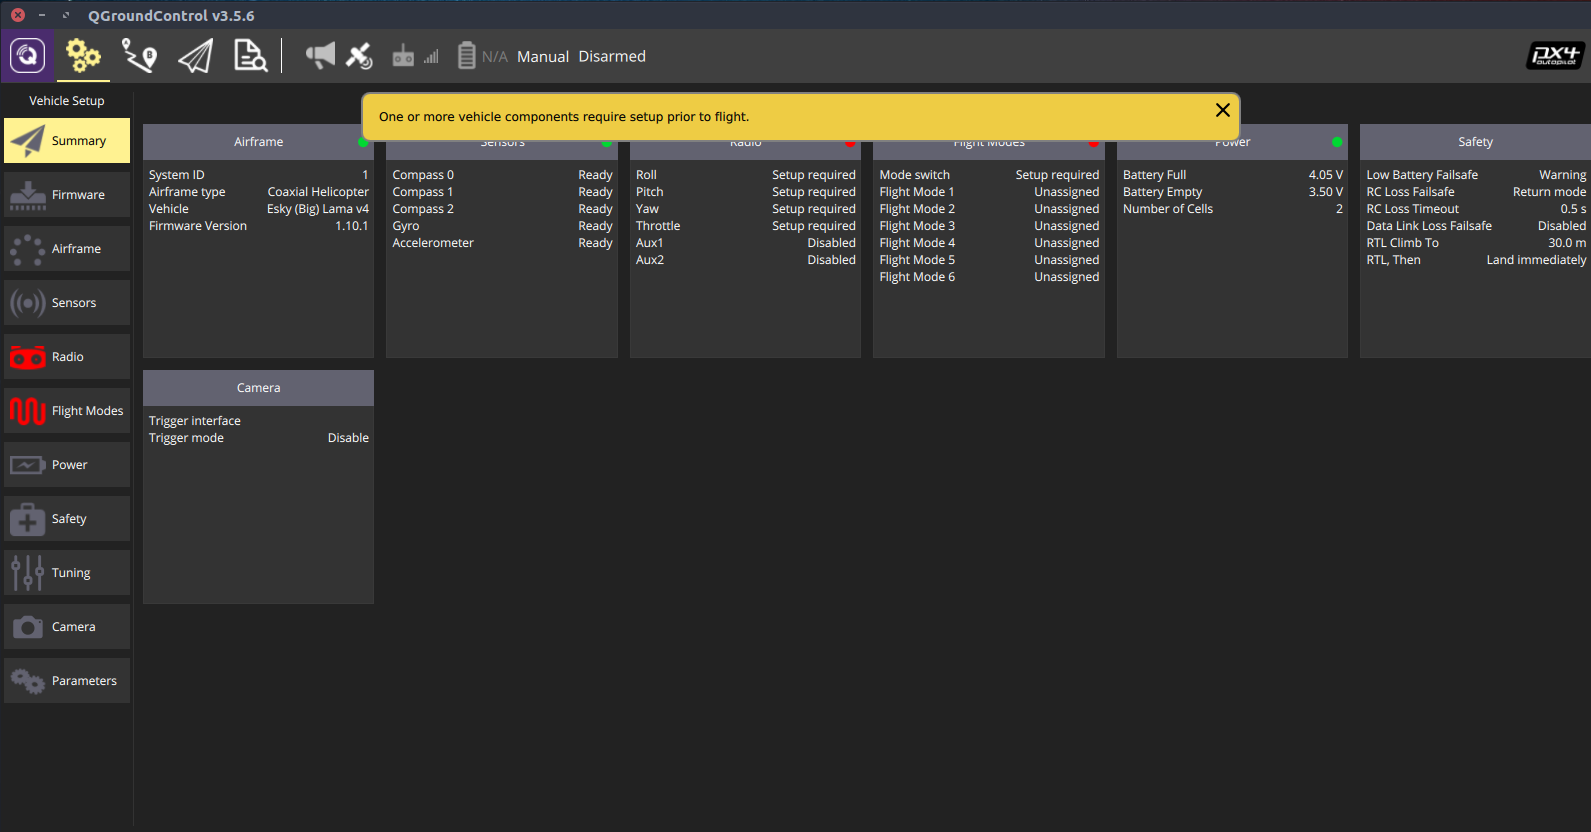
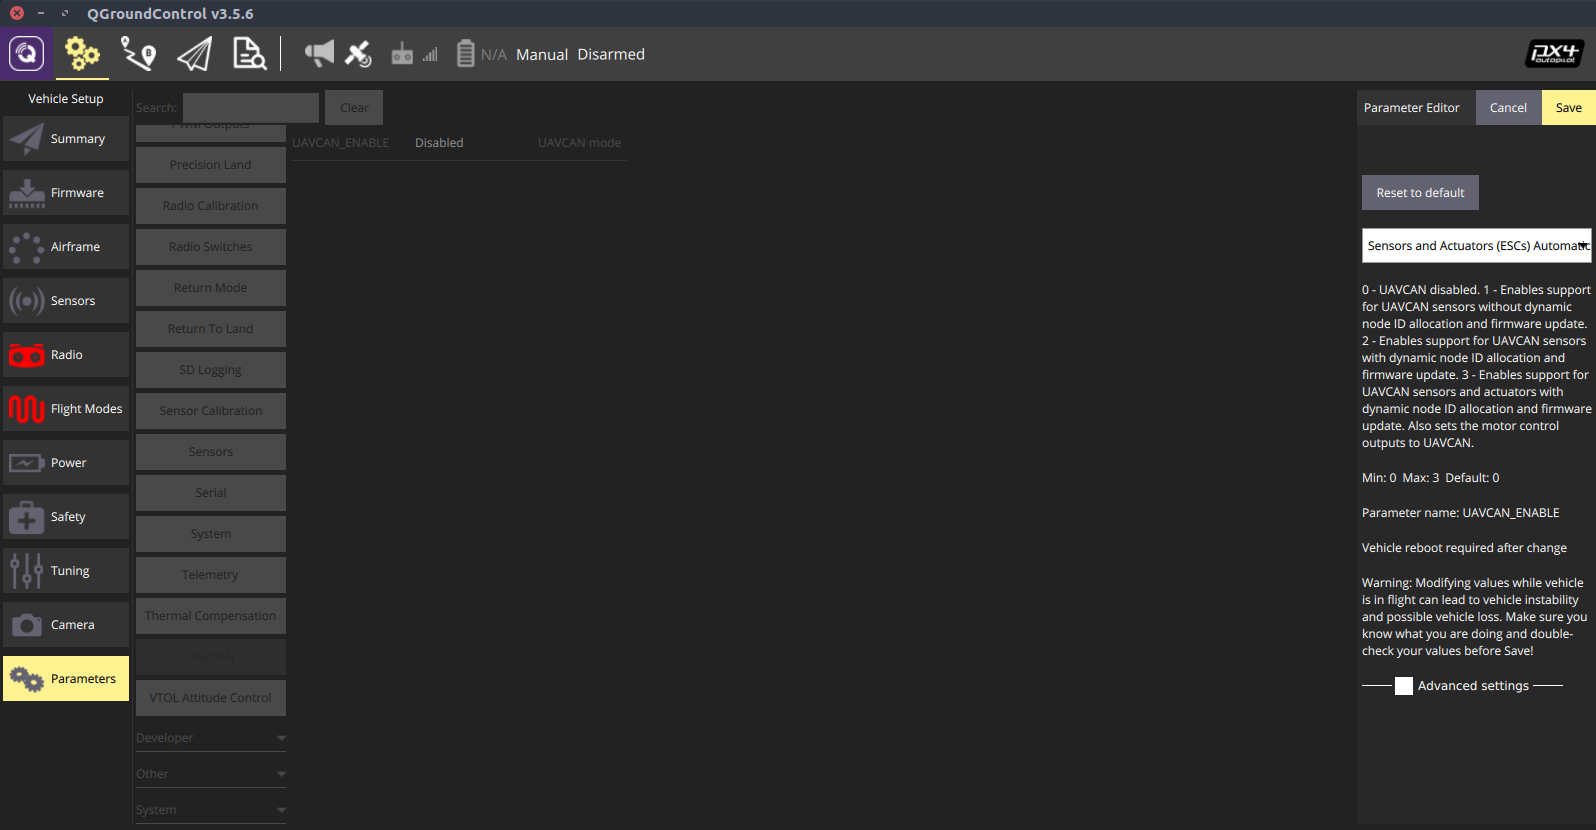
Set the configuration parameter UAVCAN_ENABLE to Sensors and Actuators(ESCs)Automatic
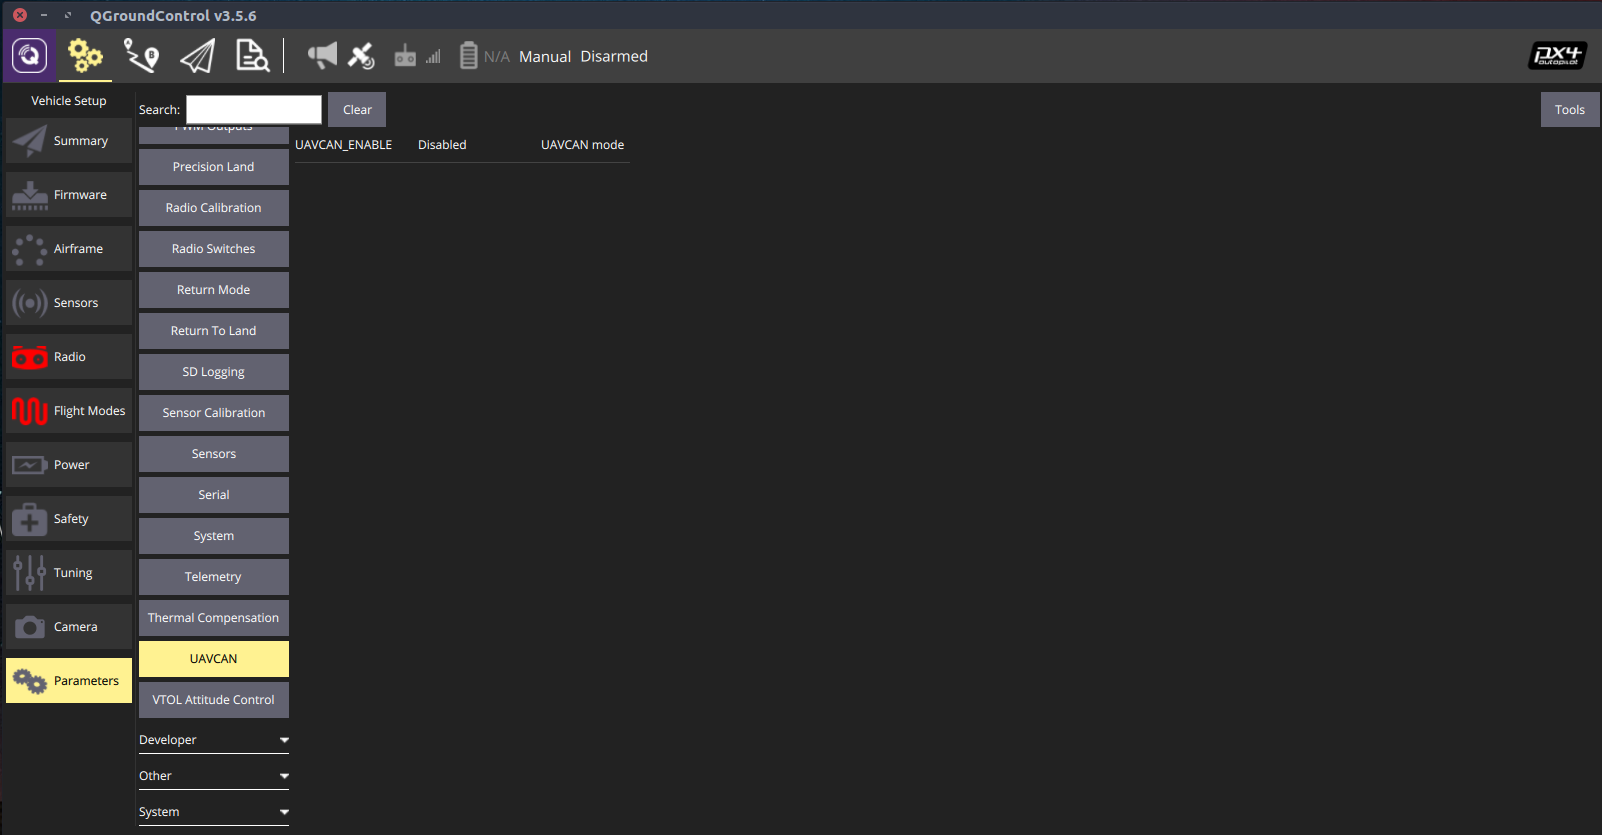
Save setting.
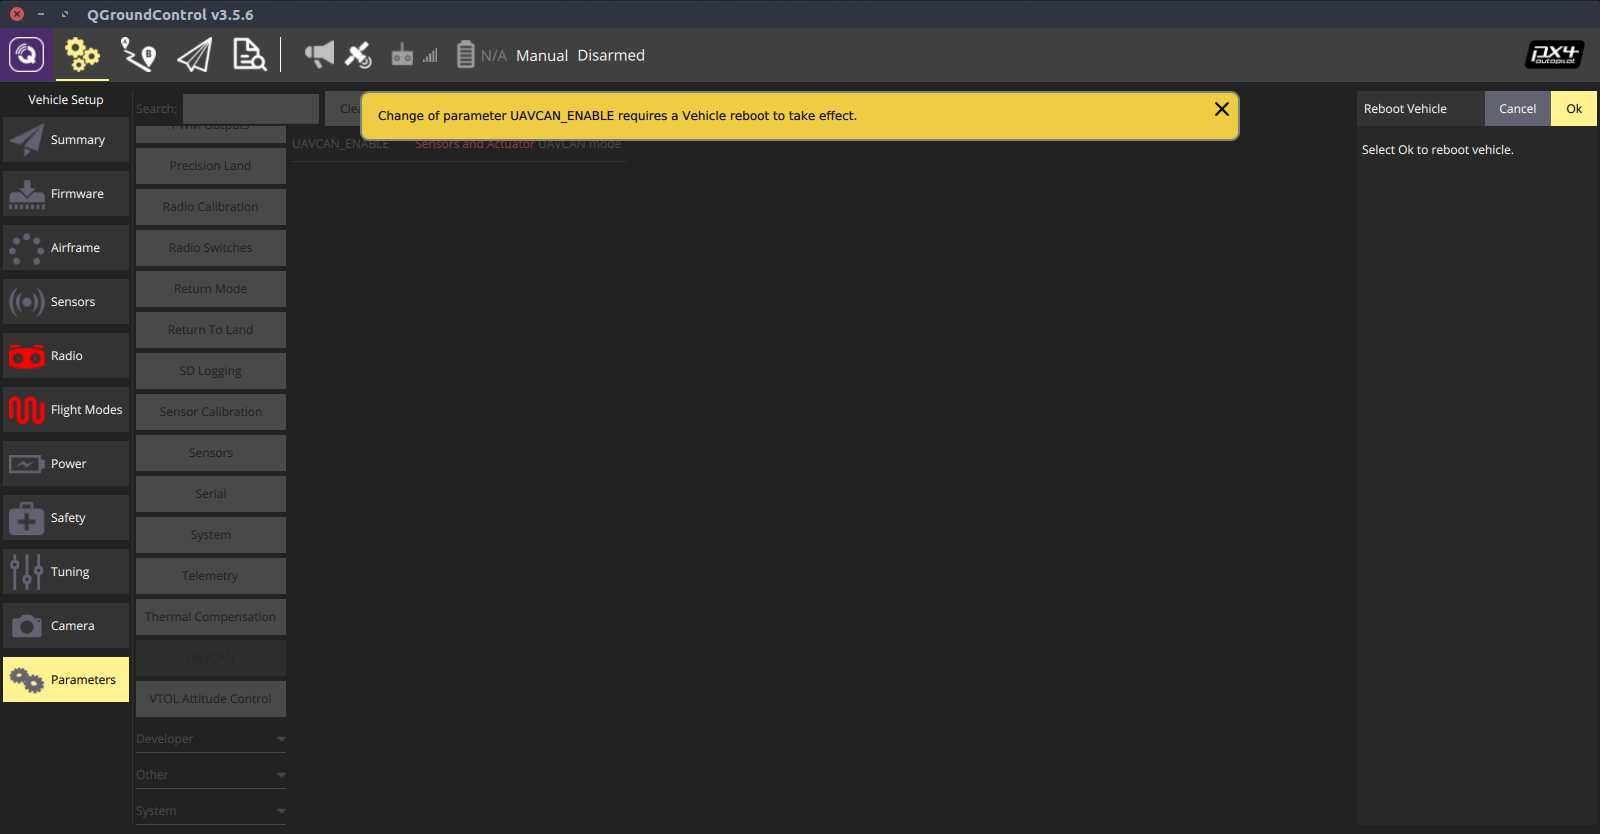
Reboot Device.
Open MAVLink Console (Analyze → Mavlink Console) which allows you to connect to the PX4 nsh shell.

Command uavcan status will display the status of uavcan and all sensors attached to it.
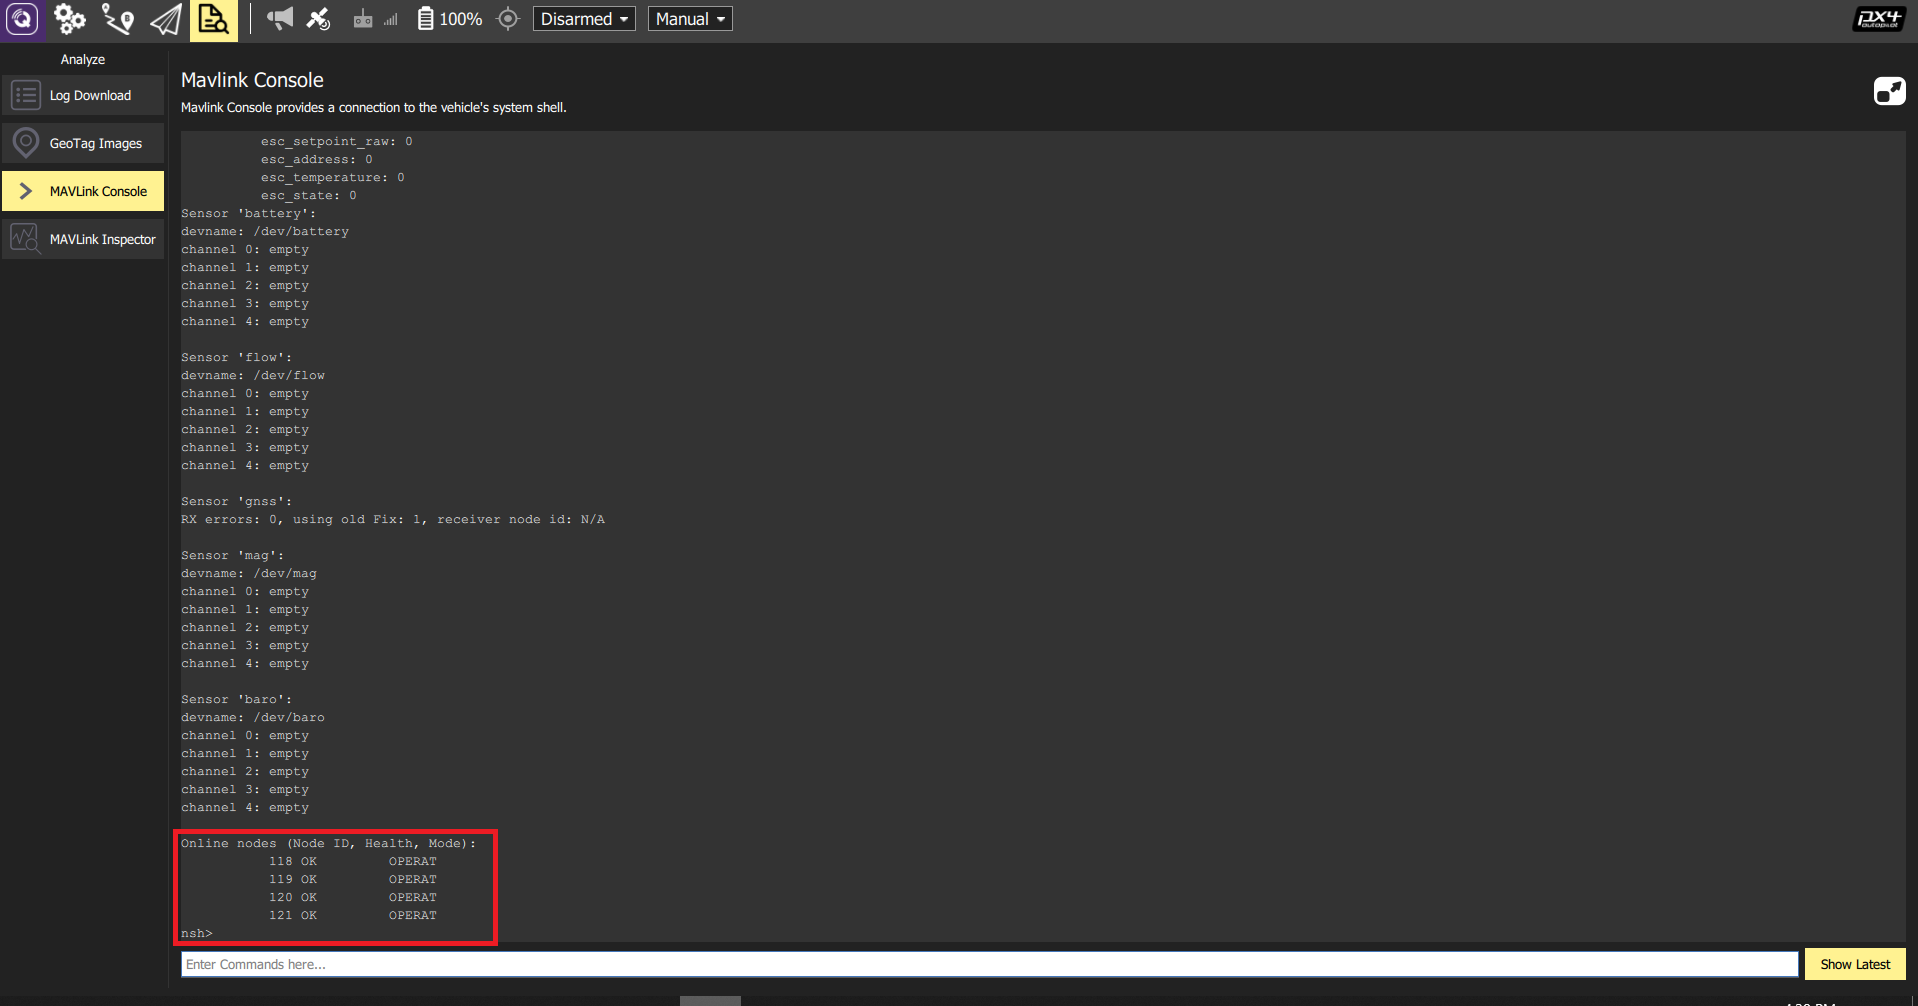
All four ESC will appear as operational nodes on the CAN bus.
¶ Data logging
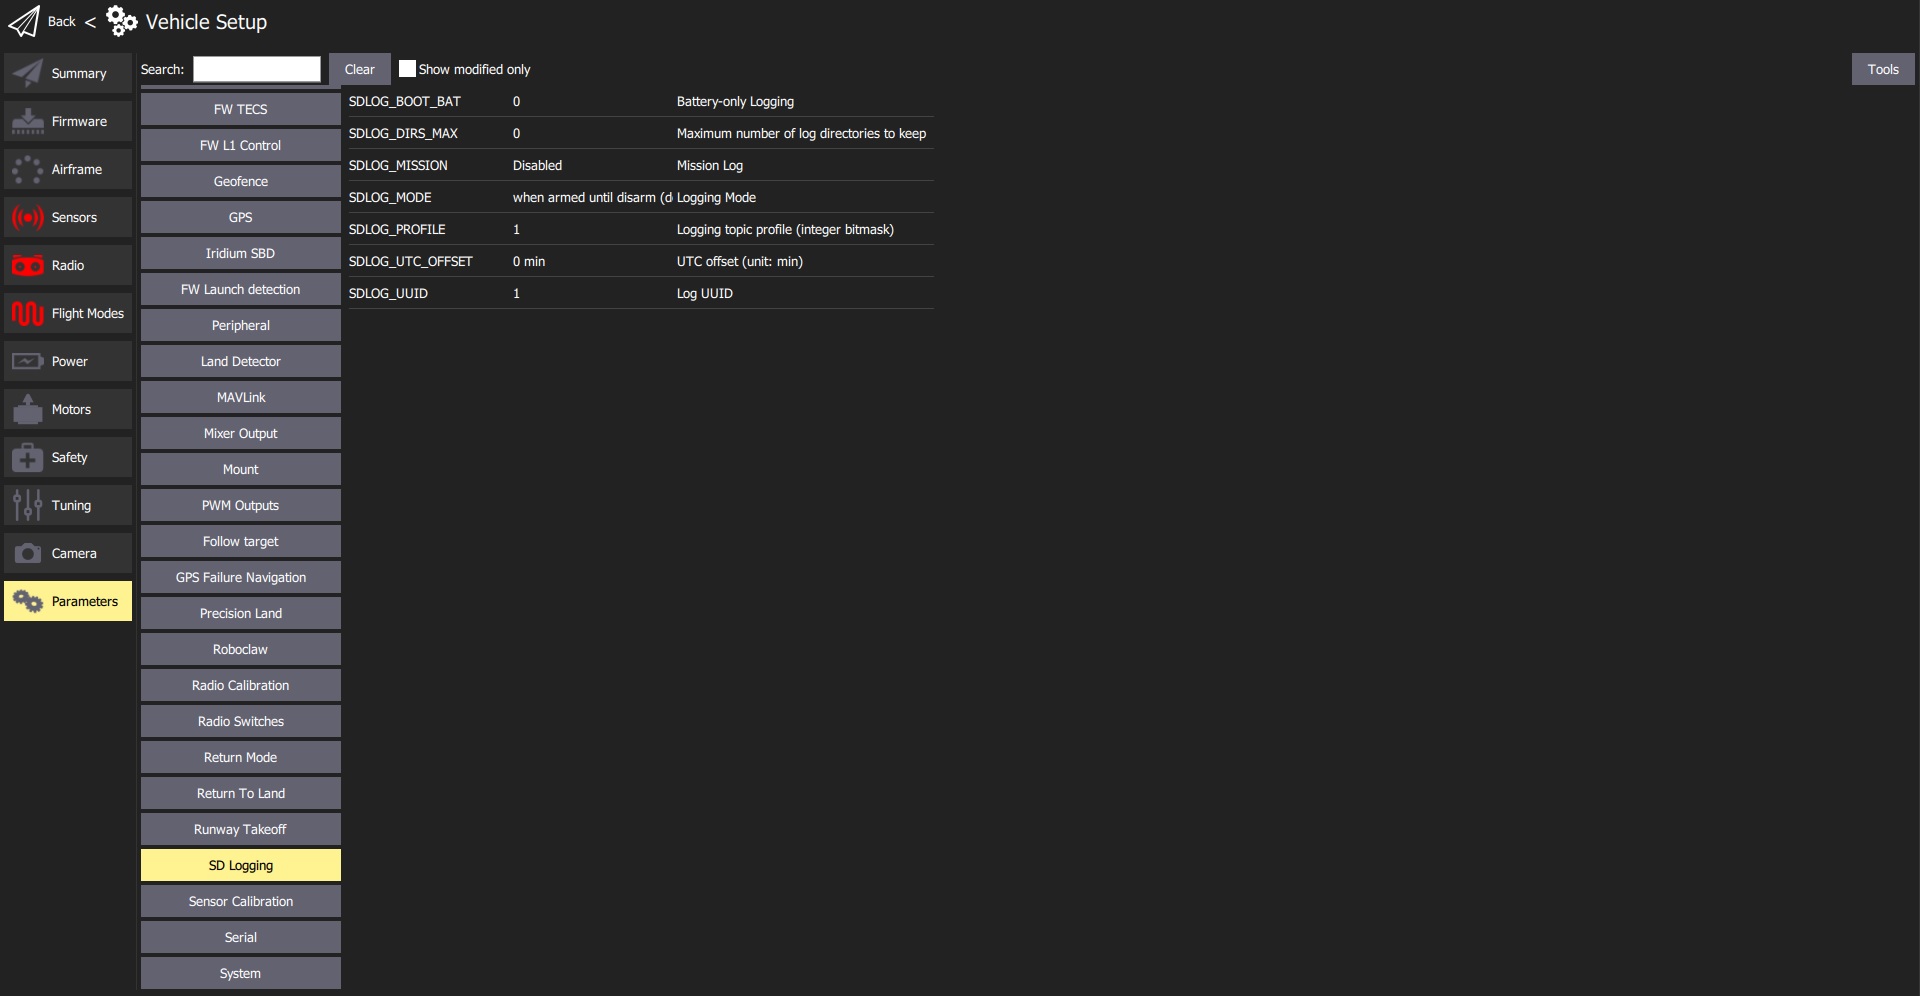
PX4 has the functionality of logging all the statistics of aircraft and sensor data (Note: Telemetry of Telega is not supported yet). By default, the sd card logging is enabled in QGroundControl. To change the logging settings go to tab PARAMETERS → SD Logging.
The log file can be downloaded and used to analyze performance issues. Refer to the relevant documentation for details.
